Key Takeaways
- The best camera for safari is the one you own and know — a 100-400mm zoom is the classic all-rounder.
- Fast shutter speed (1/1000s or faster) plus continuous autofocus and burst mode are the settings that matter most.
- The golden hours at dawn and dusk give the finest light — and the busiest wildlife.
- Shoot at eye level, focus on the eye, and fill the frame for portraits with real impact.
- Ethical field craft always comes first — a longer lens, not a closer vehicle, gets the shot.
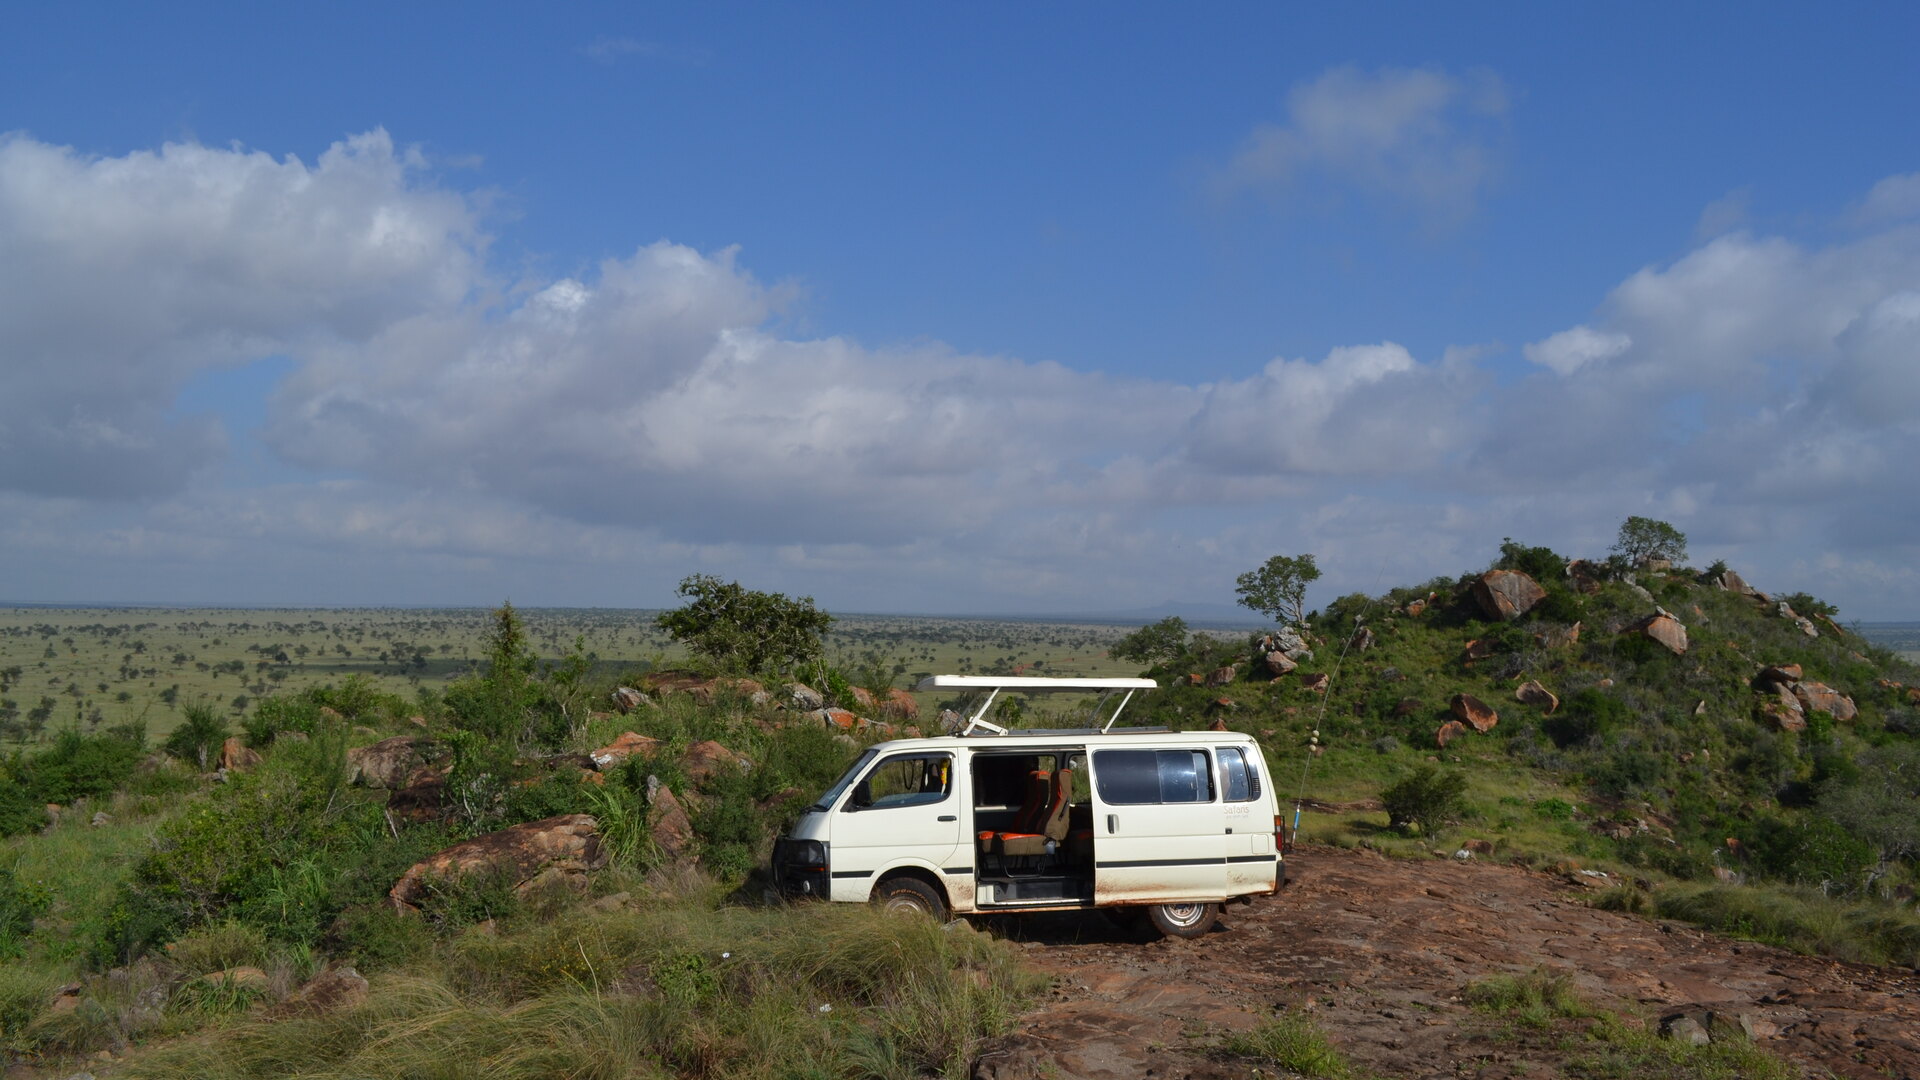
- Combine self-drive freedom with a few nights in a private reserve for off-road photographic angles.
The Gear That Actually Matters
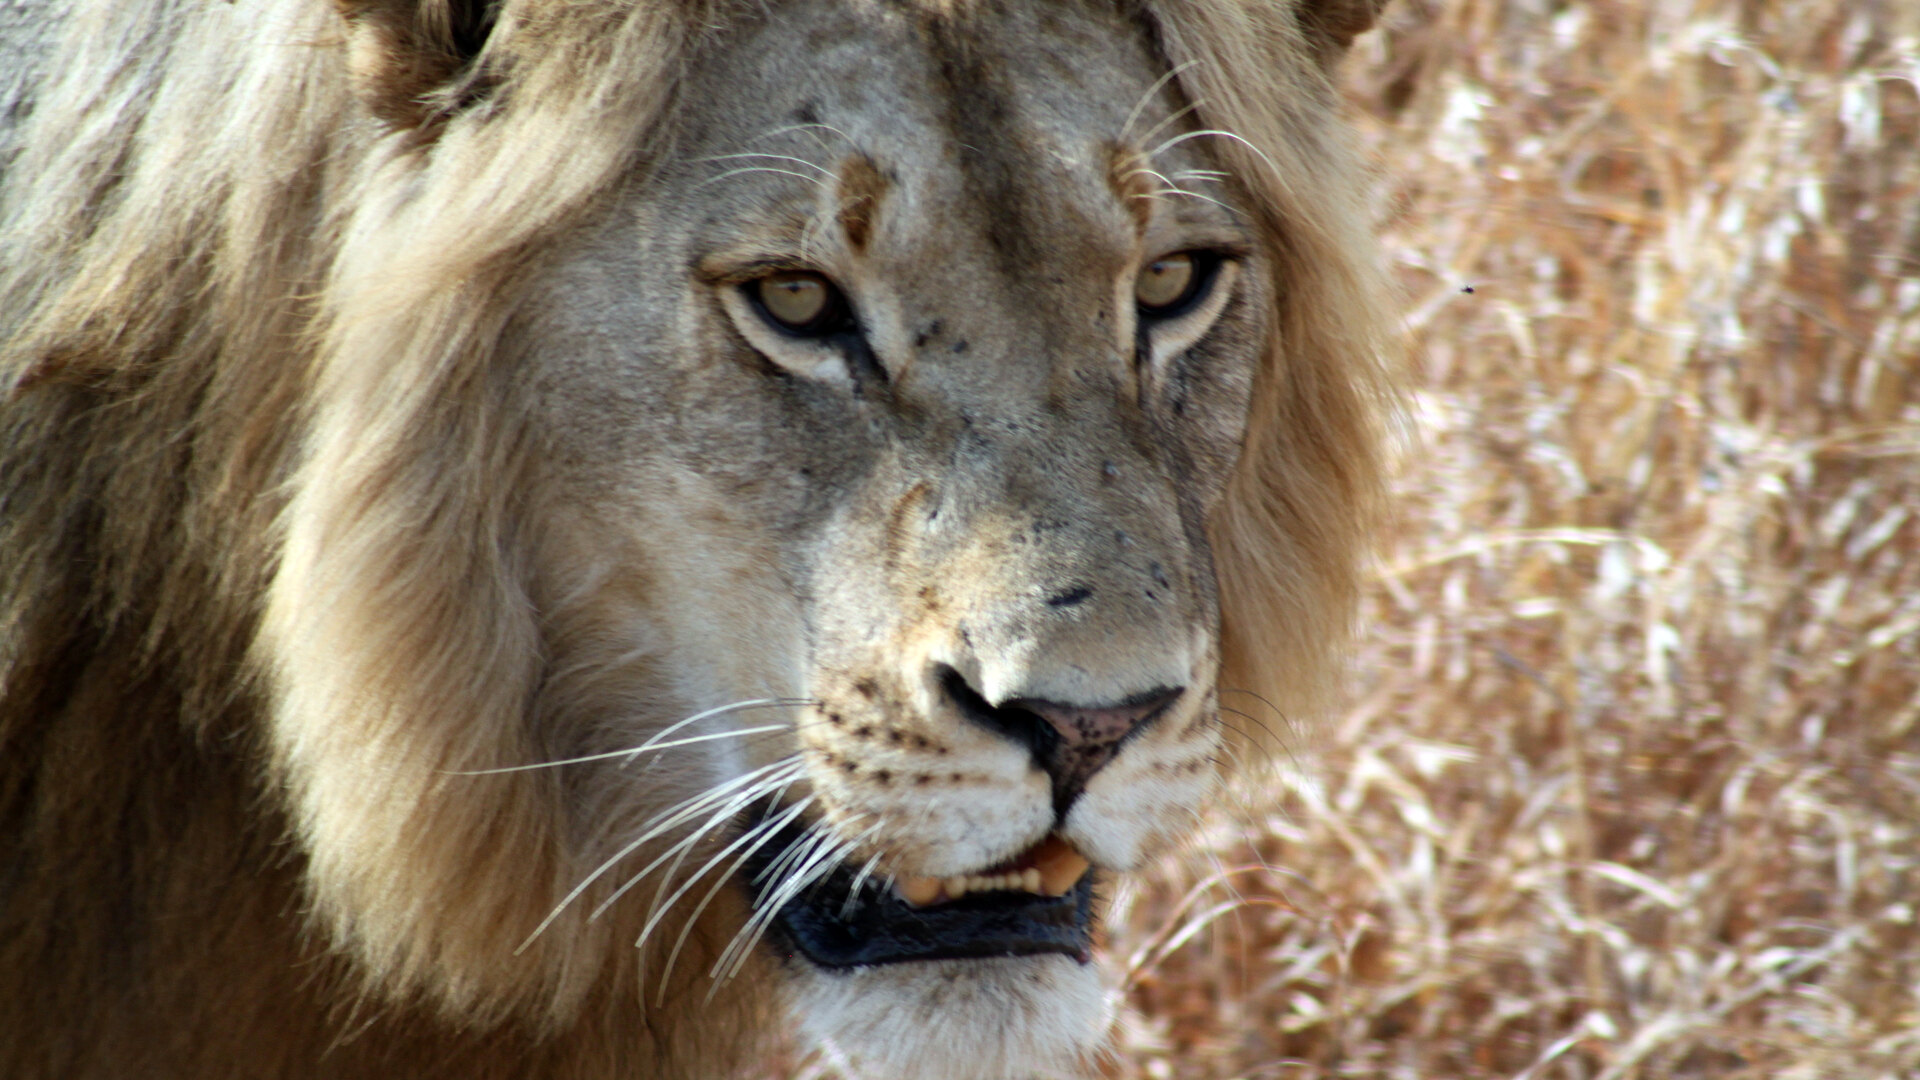
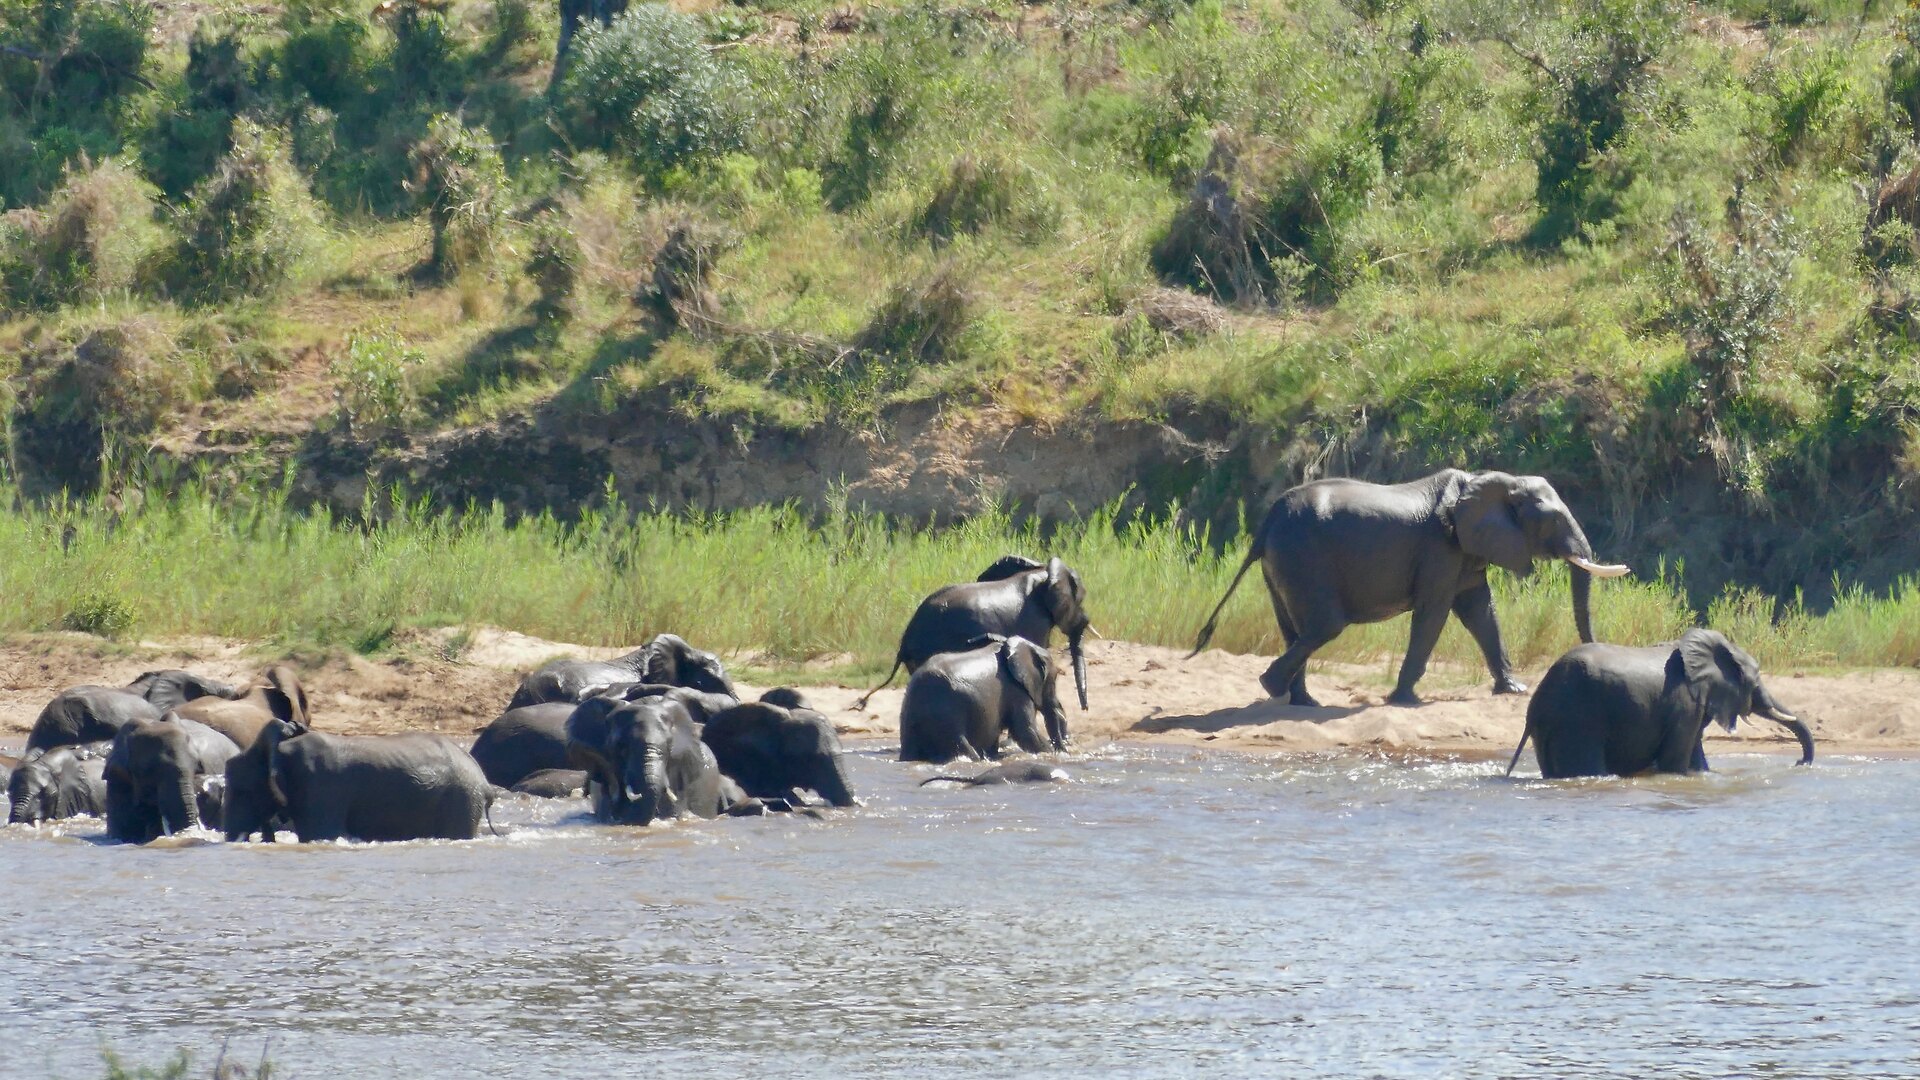
Let us start by taking the pressure off: you do not need a bag full of professional gear to bring home photographs you will treasure. The single most useful piece of kit is a telephoto zoom that reaches 300mm or more, because the animals are often further away than you expect and reach lets you fill the frame while keeping a respectful distance. A 100-400mm lens is the classic safari all-rounder — versatile enough for a lion's portrait and a whole herd at a waterhole. If that is all you bring, you are well equipped.
Beyond the lens, a few small things earn their place. A beanbag or soft support to steady the camera on the vehicle door works better than a tripod, which is awkward in a moving vehicle. Bring more memory cards and battery than you think you need, because you will shoot far more than you expect and there is nowhere to buy them in the bush. A dust blower and a lens cloth matter in the dry season. And that is genuinely most of it — resist the urge to over-pack, because the best photographers travel light and spend their energy watching, not fiddling with equipment.
Camera Settings for Wildlife
If you learn only a handful of settings before you travel, learn these. First, shutter speed: wildlife moves, and vehicles vibrate, so keep your shutter fast — at least 1/1000 of a second for moving animals, and faster still for birds in flight or a running predator. A sharp, slightly noisy image will always beat a clean, blurry one. Second, autofocus: switch to continuous or servo autofocus so the camera tracks a moving subject, and use a single or small cluster of focus points aimed at the animal's eye.
Third, exposure: shooting in aperture priority with a wide aperture blurs the background and isolates your subject beautifully, and it lets the camera manage shutter speed as the light changes. Do not fear a higher ISO — modern cameras handle it well, and in the low light of dawn and dusk it is what keeps your shutter fast enough. Finally, use burst mode, firing short sequences rather than single frames, so you can pick the one moment where the ears are up, the eye is sharp and the pose is perfect. Practise all of this at home on a moving dog or a bird in the garden, so that in the vehicle your hands already know what to do.
Chasing the Light
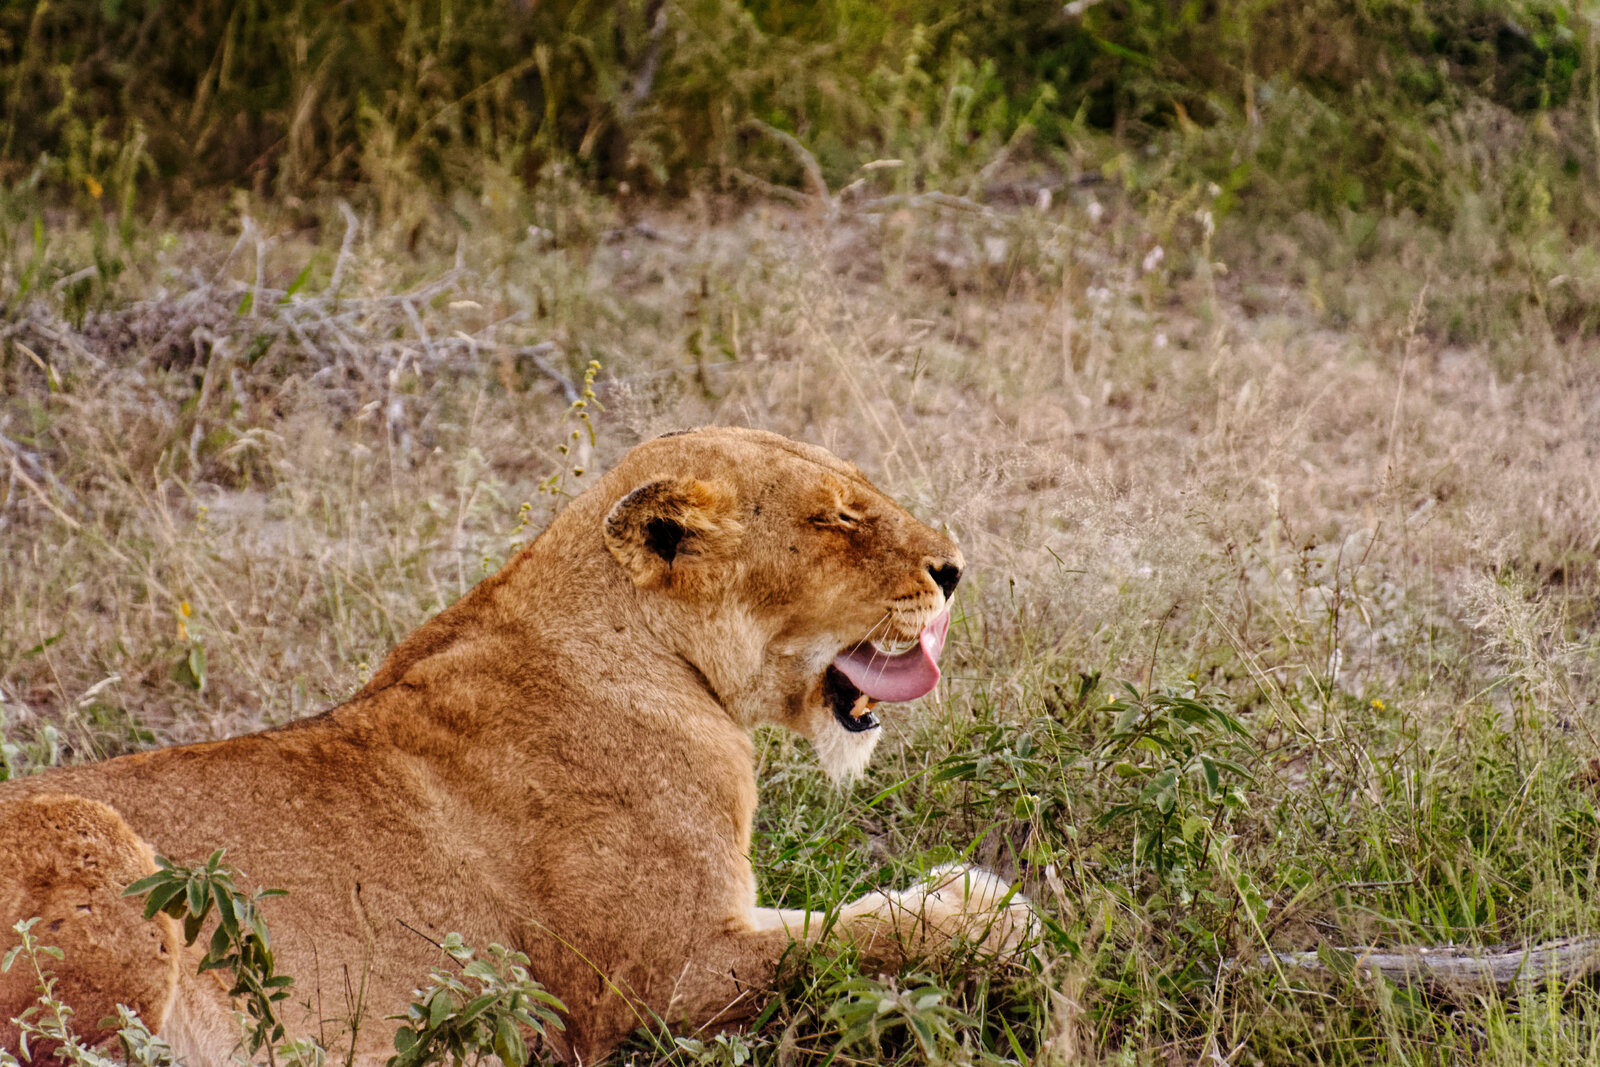
Ask any wildlife photographer what matters most and they will not say the camera — they will say the light. The Kruger gives you its finest light in the golden hours just after sunrise and just before sunset, when the sun is low and the whole bush glows warm and soft. This is a happy coincidence, because those same hours are when the animals are most active, moving to and from water in the cool of the day. Get up in the dark, be out at first light, and stay out until the sun is gone — the middle of the day is for resting, reviewing and backing up your images.
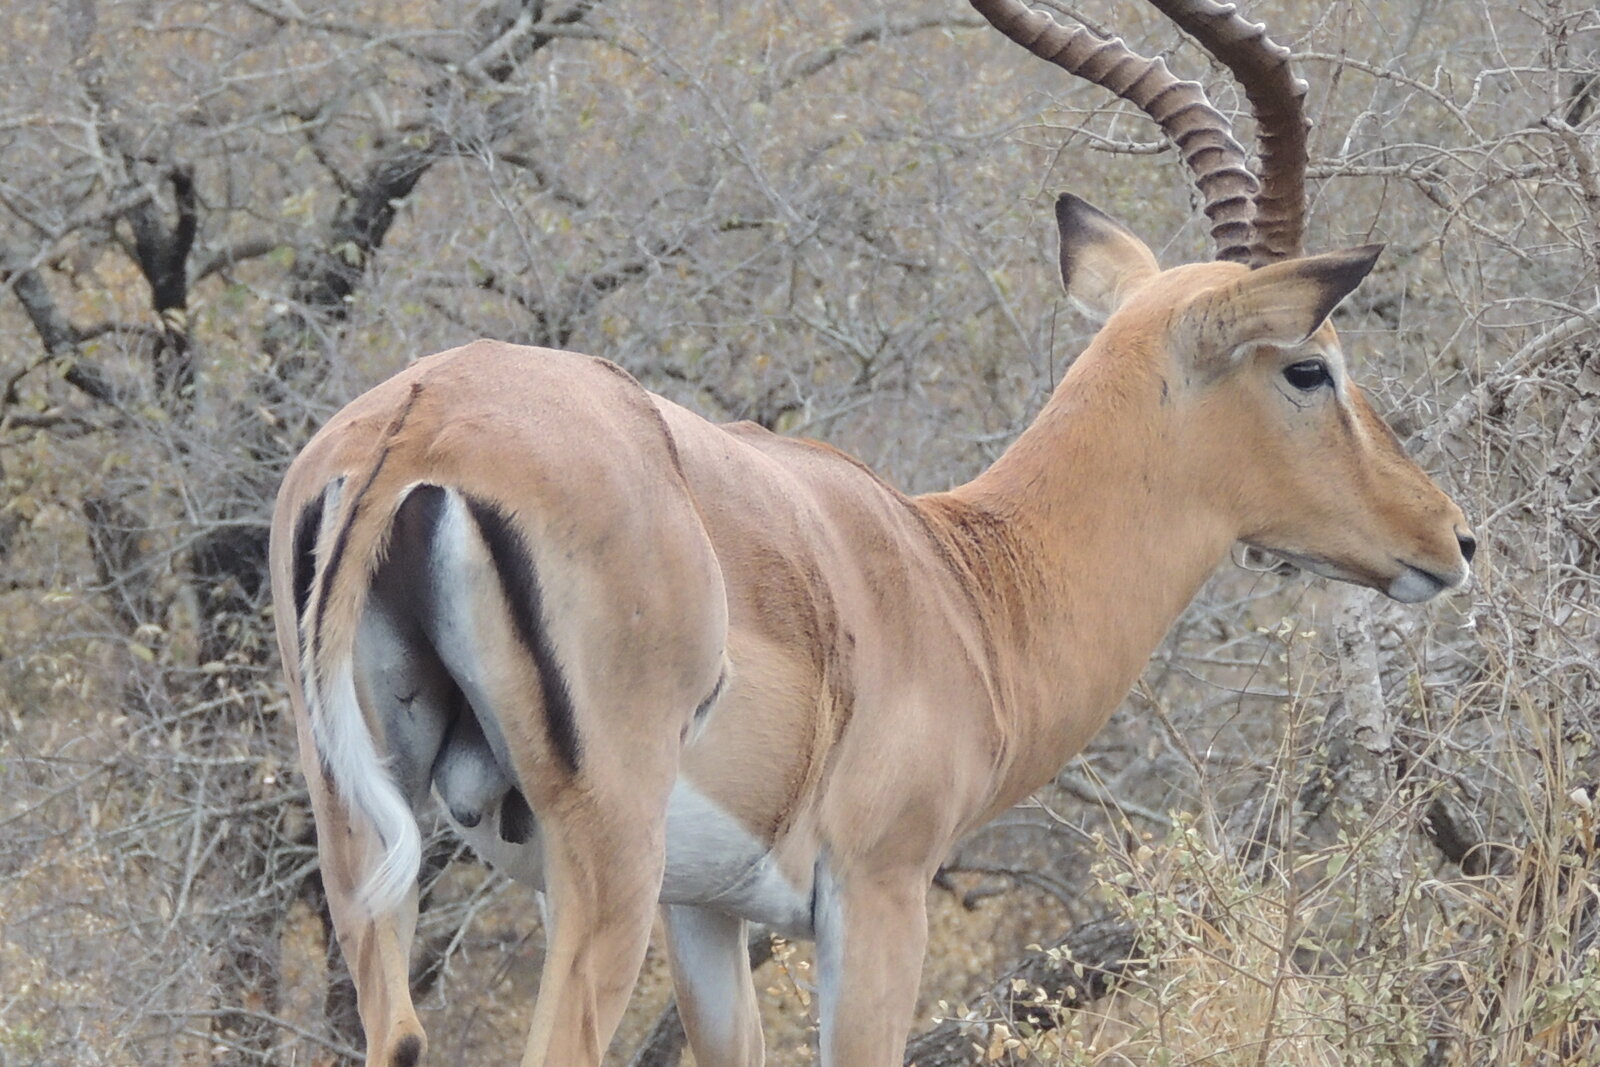
Learn to use the light rather than just tolerate it. Front light, with the sun behind you, gives clean, saturated colour and is the safe choice. But do not be afraid to turn into the light: backlighting an impala or a dust cloud at sunset creates rim-lit drama that ordinary front light never will. Overcast days, far from being a disappointment, act like a giant softbox and are wonderful for even-toned portraits. And always remember to turn the camera on the sky itself — a Kruger sunset behind a lone acacia is as worthy a subject as any lion.
Composition and Field Craft
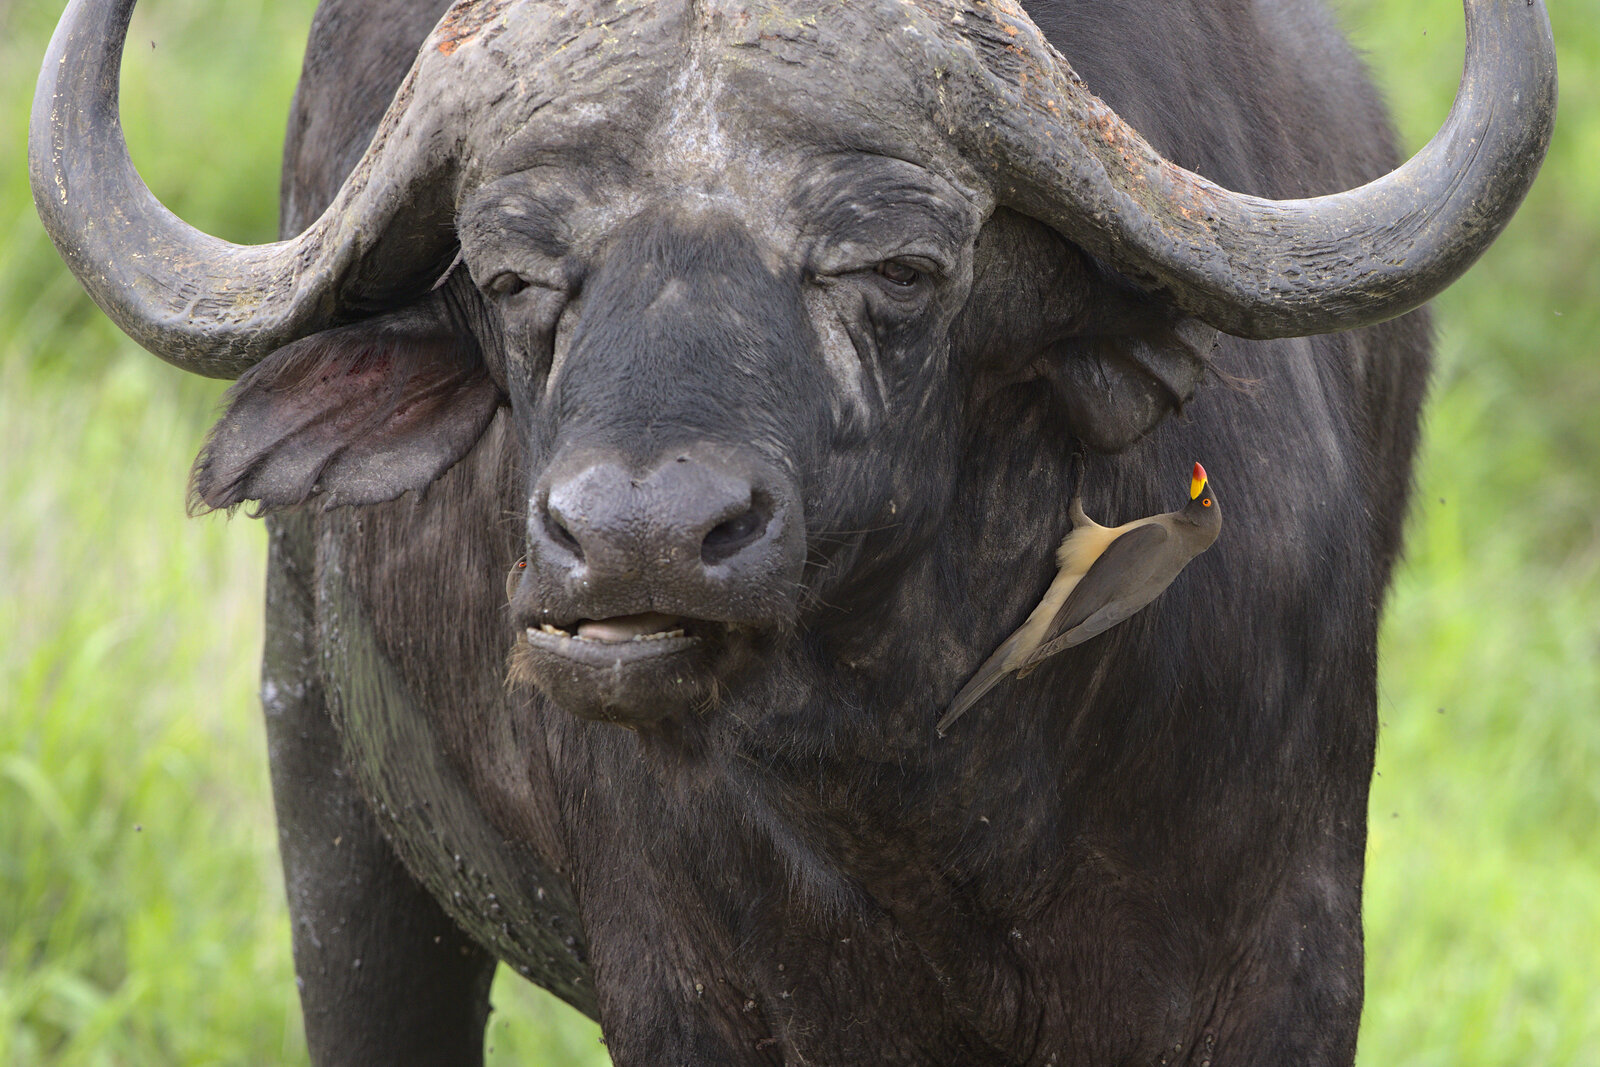
Good composition in the bush comes down to a few reliable instincts. Shoot at eye level wherever you can, because a photograph taken level with the animal draws the viewer into its world far more powerfully than one looking down from above. Focus on the eye, always — a sharp eye forgives a great deal, and a soft one ruins even a well-lit frame. For portraits, fill the frame and simplify; for storytelling shots, do the opposite and let the animal sit small within its wild landscape.
The real field craft, though, is patience. The finest safari images almost never come from the first ten seconds at a sighting. They come from staying, watching, and waiting for the moment — the yawn, the interaction, the head turning into the light, the youngster tumbling into frame. Anticipate behaviour rather than react to it: watch the ears and eyes, learn what an animal does before it moves, and be ready. Keep the vehicle quiet and still, keep shooting in short bursts, and let the scene unfold. The travellers who come home with the best pictures are almost always the ones who were willing to wait the longest.
| Photographic Goal | How to Achieve It |
|---|---|
| Sharp moving animals | Shutter 1/1000s or faster, continuous autofocus, burst mode |
| Blurred, creamy background | Wide aperture (low f-number), longer focal length |
| Best light | Shoot the golden hours; rest at midday |
| Powerful portraits | Eye level, focus on the eye, fill the frame |
| Storytelling images | Animal small within its landscape, wider lens |
| Ethical distance | Longer lens, never a closer vehicle |
Ethics: The Animal Comes First
No photograph is worth distressing an animal, and the best wildlife photographers are, above all, the most respectful ones. The golden rule is simple: the welfare of the subject always comes before the image. That means never asking your guide to crowd, chase, herd or bait an animal for a better angle, keeping your voice and movements calm and quiet at a sighting, and using the reach of your lens rather than the proximity of the vehicle to fill the frame. If an animal changes its behaviour because of your presence, you are too close, and it is time to back off.
A few practical courtesies matter too. Switch to silent shooting if your camera allows it, so the shutter does not startle a resting cat. Never use flash on nocturnal animals, whose eyes are far more sensitive than ours. Give right of way at a sighting, do not block other vehicles, and follow every instruction from your guide, who knows the animals and the rules intimately. Photograph with humility and you will find the bush rewards you — animals relaxed in your presence give you the natural, unhurried behaviour that makes the very best images.
Where and When to Shoot in Kruger
The Kruger rewards photographers almost everywhere, but a few patterns help you plan. The dry winter, from May to September, is the finest photographic season: the vegetation thins, animals concentrate at waterholes and rivers, and the clear light is reliable. Waterholes and river crossings at first light are the classic productive spots — position yourself with the morning sun behind you and wait for the parade. The southern and central regions of the park have the highest game density and the most open country, which makes for cleaner backgrounds and easier sightings.
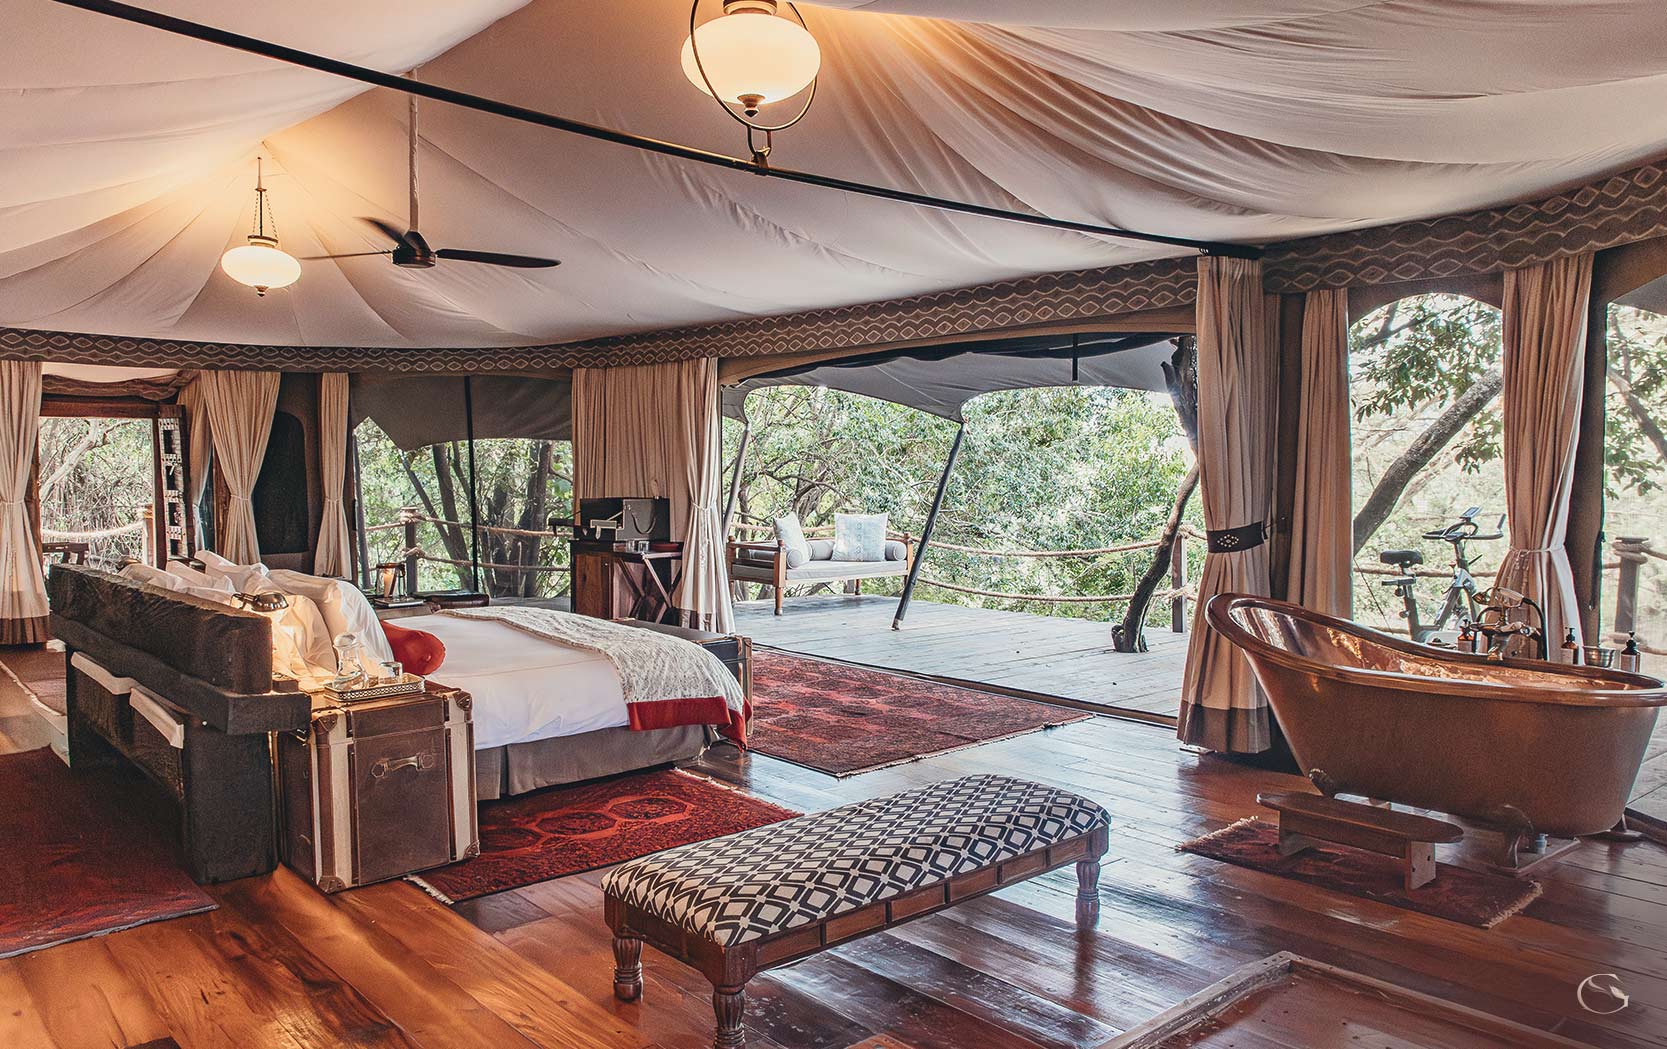
For the premium photographic experience, consider pairing the main park with a night or two in one of the private reserves along the western boundary, such as the Sabi Sands. There, a raised open vehicle, an expert guide and the freedom to leave the road for a better angle transform what is possible, particularly for leopard and for those magical low-light sightings. Whether you shoot entirely self-drive or add a private-reserve chapter, tell us what you most want to photograph — big cats, elephants, birds, landscapes — and we will build the itinerary, the season and the timing around your camera.
Let Us Build Your Photographic Safari
A great safari for photography is not left to chance — it is planned around the light, the season and the places that give you the best chance at the images you dream of. Tell us what you love to shoot and how you like to travel, and we will match you to the right combination of self-drive freedom and private-reserve access, at the right time of year, with enough time at each sighting to let the moment come to you. Bring the camera you own and know; we will put you in the right place to use it beautifully.
Dreaming of Safari Images You Will Frame?
From golden-hour game drives to a few nights in a private reserve for off-road angles, we design safaris around photographers — the season, the light and the sightings that give your camera its finest chances.
Ready to explore? Browse our safari tours and packages →