Key Takeaways
- Shoot it like sport, not portraiture. A crossing lasts minutes and starts without warning. Keep your camera in your hands, in continuous autofocus and burst mode, with a shutter of at least 1/1600s ready to go — the moment does not wait for you to change settings.
- Bring two focal lengths, not one. A fast telephoto (100–400mm or 500mm+) freezes the individual drama; a wide zoom (16–35mm or 24–70mm) captures the scale of a horizon-to-horizon herd. The migration is one of the few subjects that genuinely needs both.
- The calving season is the photographer's secret. January–March on the southern plains gives soft green-season light, newborn calves, and the most concentrated big-cat action of the year — with a fraction of the crowds of the river crossings.
- Reading the herd beats reflexes. Great crossing frames come from anticipation — watching for the pacing, the gathering, the first animal to commit — not from reacting after the splash. Position, wait well, and shoot the moment before it happens.
- A private vehicle is the single best upgrade. The freedom to hold a sighting, to line up a 90-degree angle at a river bend, to drop to eye level and to stay silent with the engine off is worth more than any lens you can rent.
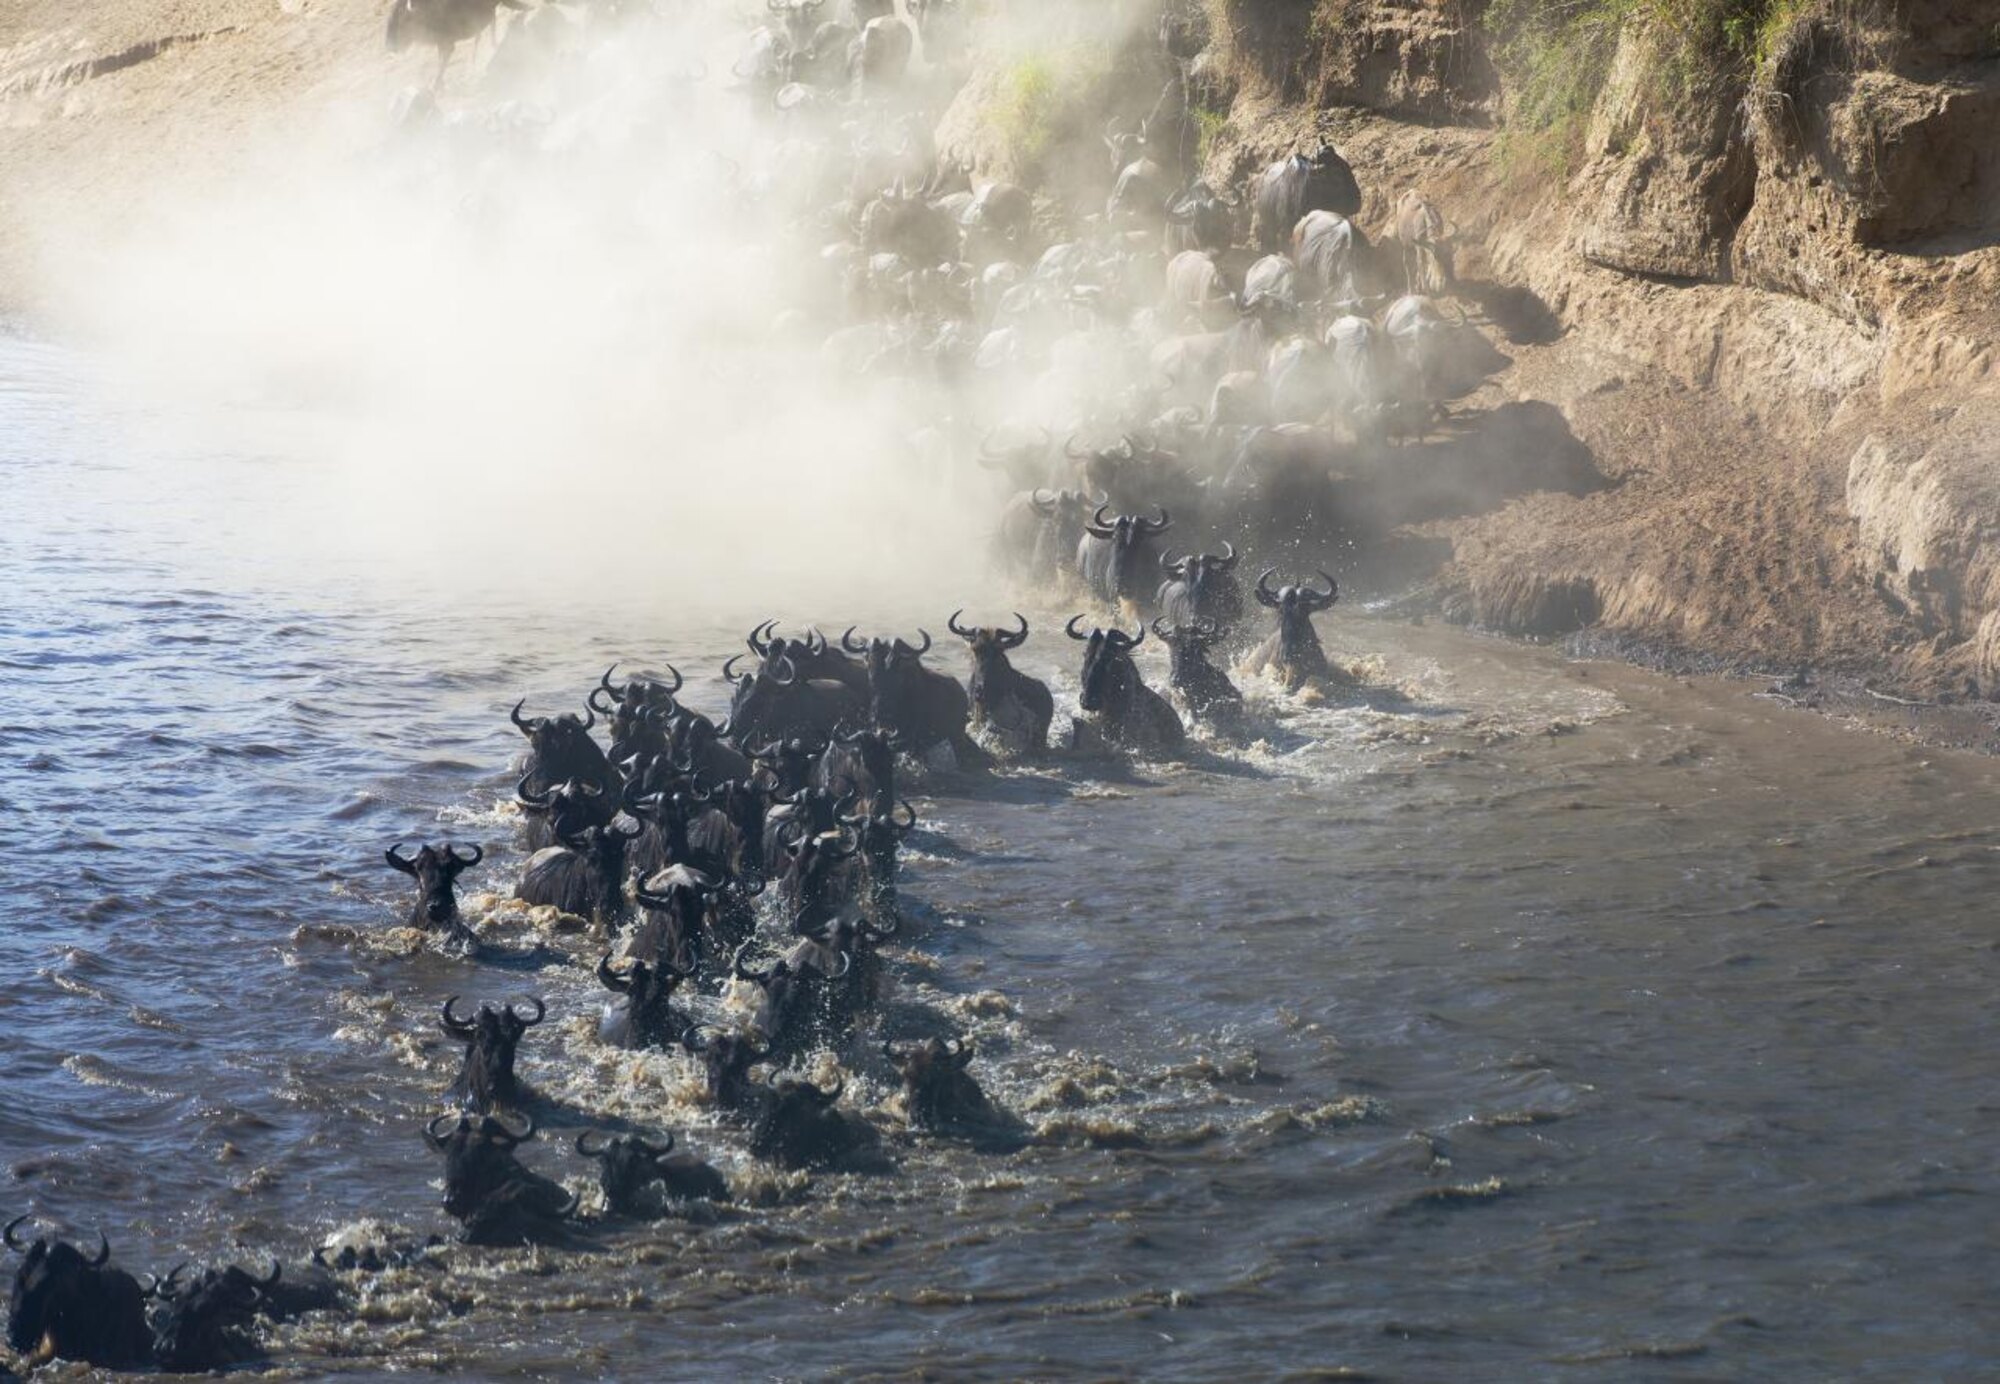
The herd has been massing on the bank for an hour. You have the long lens up, the settings dialled, and still nothing happens — just a low, nervous grunting and a wall of animals refusing to move. Then a single wildebeest plunges, and in one heartbeat the whole river is a storm of hooves and spray and panic. You have maybe ninety seconds. Everything you decided in the calm before this instant — your shutter speed, your focus mode, where the vehicle is parked, whether your finger is already down — decides whether you come home with the frame of your life or a card full of blur. That is the truth about migration photography, and it is why a generic camera guide will not save you here.
This guide is different. It assumes you already know your camera, or have read our broader African safari photography guide for the fundamentals of gear, settings and light. What follows is the migration-specific craft: how to photograph a river crossing, a calving nursery, a predator on the plains and a herd that fills the horizon — the settings, the positioning, the reading of behaviour, and the honest timing that the great migration photographs are actually made of.
Why the migration is a different kind of photography
Most wildlife photography is a slow art. You find a leopard in a tree, you wait, you refine your composition, you make the picture on your terms. The migration does not work like that. It is event photography wearing a wildlife costume — closer to shooting sport than shooting portraits — and understanding that changes everything about how you prepare.
Three things make it unique. First, the decisive moments are brief and unrepeatable. A river crossing can be over in minutes, and no two are the same; miss the peak and it is simply gone. Second, the scale is a subject in itself. A single wildebeest is not a beautiful animal, but two hundred thousand of them flowing across a plain is one of the great sights on Earth, and photographing that scale is a discipline of its own. Third, the conditions are hostile — dust, heat, glare, chaotic movement, and a shooting platform that vibrates and cannot always be where you want it.
The photographers who come home with portfolios rather than snapshots are the ones who stop thinking like portraitists and start thinking like event shooters: anticipate, pre-set, stay ready, and accept that you will burn thousands of frames to keep a handful. Everything below flows from that mindset.
The gear that actually matters for the migration
You do not need the most expensive kit in the world — but the migration does reward a few specific choices more than a general safari does. If you are building a kit for this trip in particular, prioritise in this order.
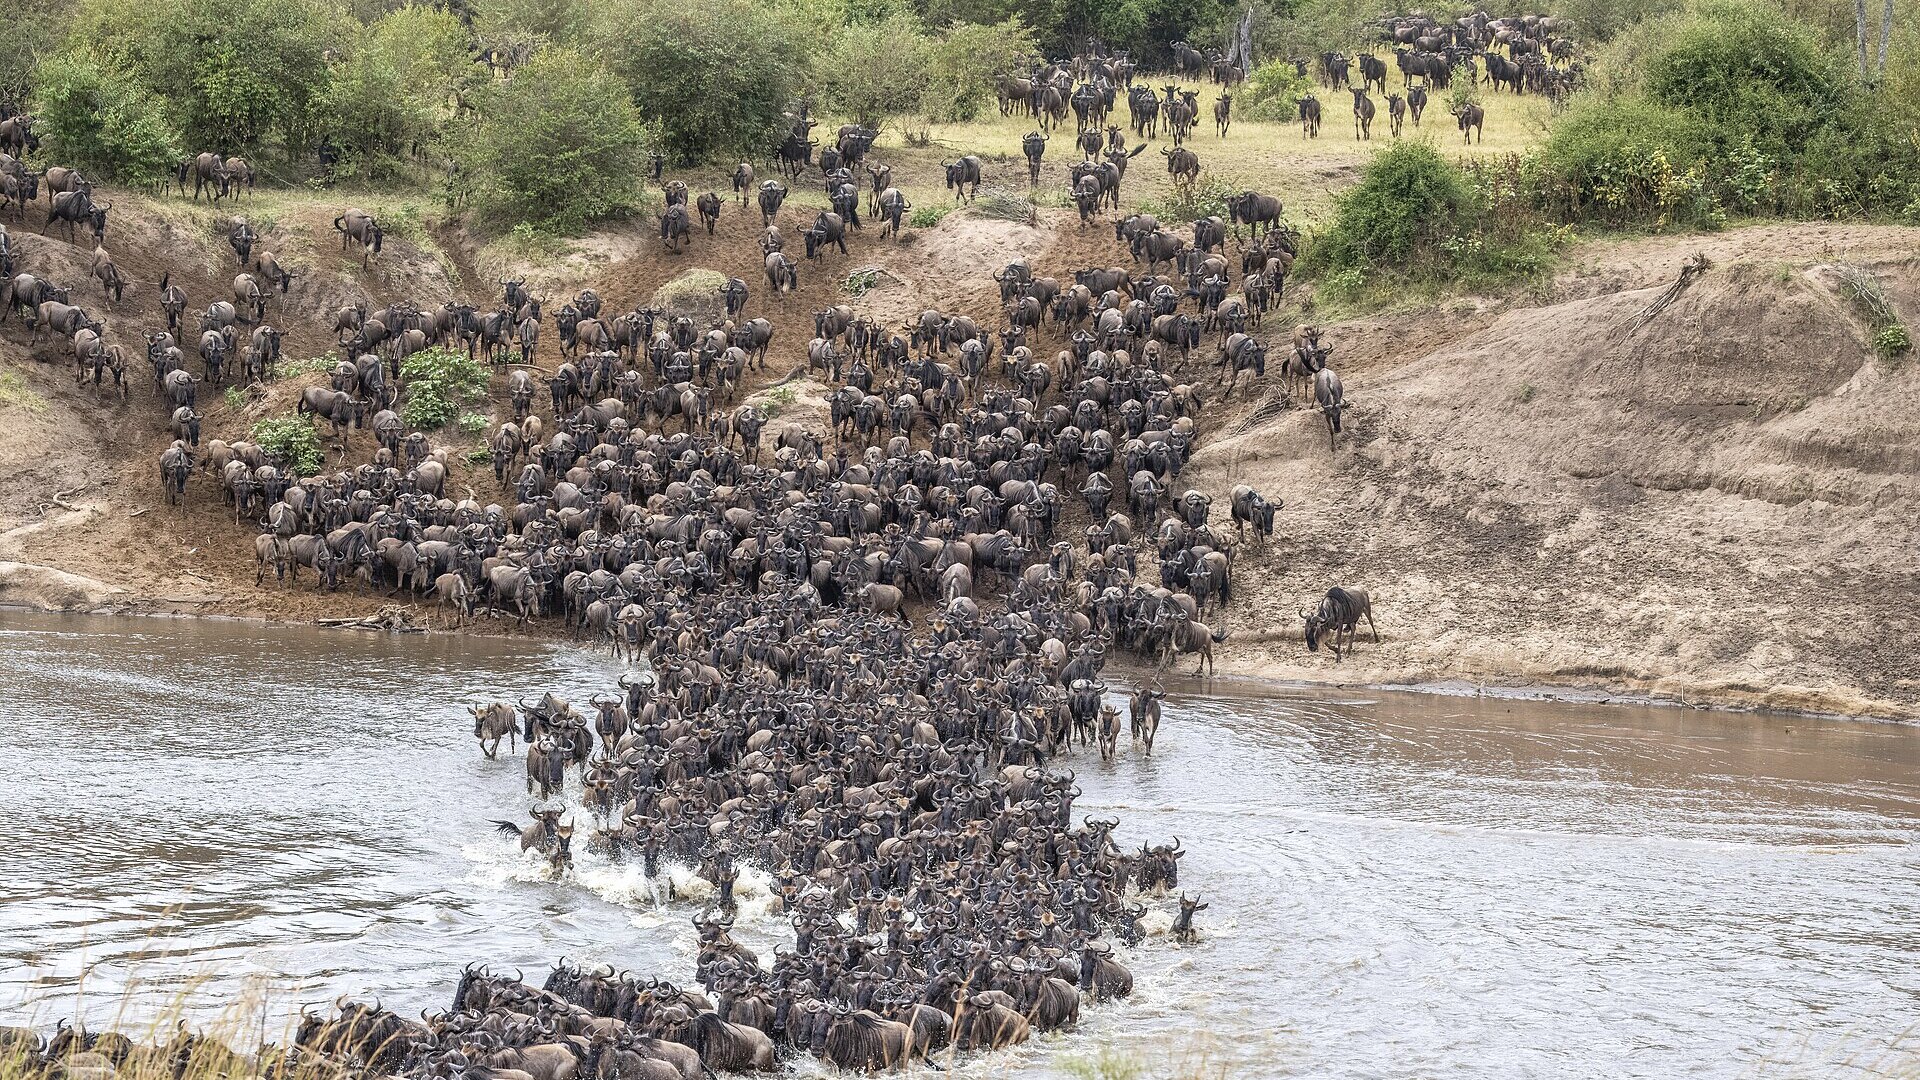
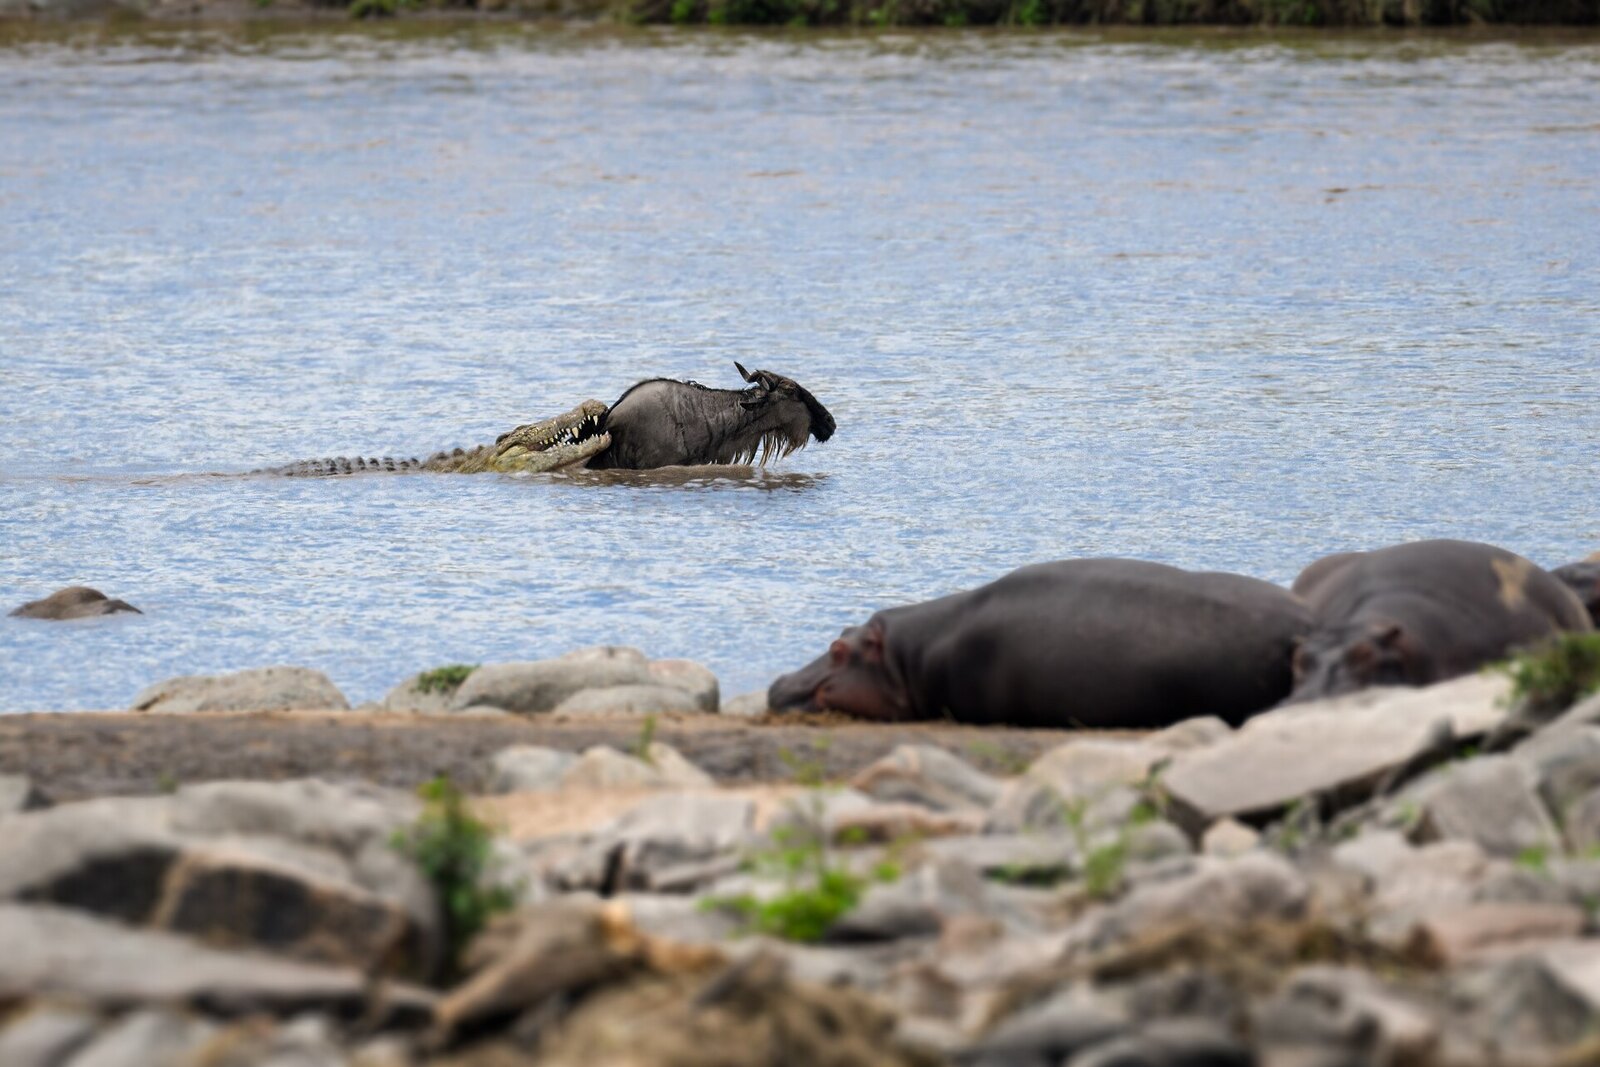
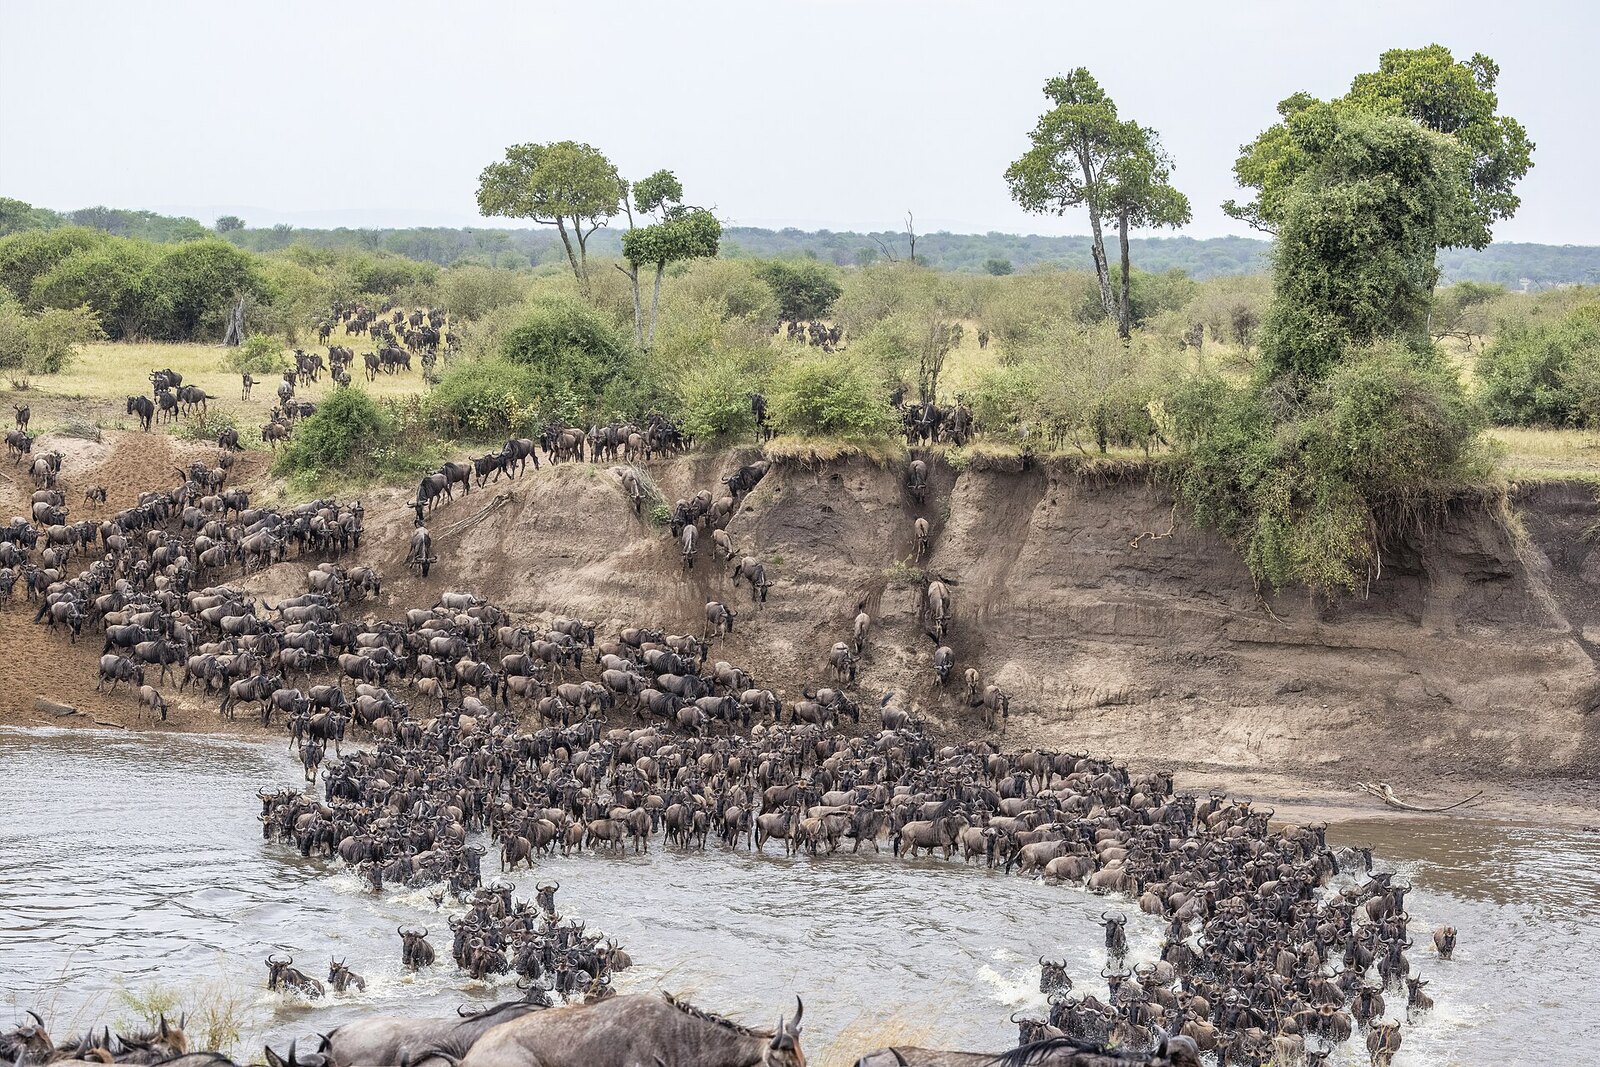
Two focal lengths, always. The migration is one of the rare subjects that genuinely demands both ends. A fast telephoto — a 100–400mm zoom at minimum, a 500mm or 600mm if you have it — isolates the crocodile strike, the leaping individual, the cheetah on the mound. A wide zoom — 16–35mm or 24–70mm — is what turns a crossing into an epic, placing the churning river inside a vast landscape and dust-filled sky. If you shoot a crossing on the long lens alone, you will come home wishing you had the wide, and vice versa. Two bodies, one on each, is the professional's answer; if you have one body, practise switching fast and keep the sensor covered.
A beanbag beats a tripod. Inside a vehicle a tripod is useless; a good beanbag draped over the window ledge or roof hatch steadies a long lens against engine vibration far better. Bring one, or ask us to have one waiting — our photographic vehicles carry them.
Dust protection is not optional in the north. The Kogatende and Mara sectors in peak season are extraordinarily dusty. Keep a rain-cover or a simple dust sleeve on the body, avoid changing lenses in the open, carry a rocket blower, and resist the urge to swap glass at the crossing itself — one gust onto an open sensor can cost you the rest of the trip.
Cards, batteries, and buffer. Crossings are shot in long bursts, so bring fast, high-capacity cards and more of them than you think, plus spare batteries kept warm. A camera with a deep buffer and quick write speed matters more here than on any other safari — nothing hurts like the buffer choking mid-crossing.
Photographing a river crossing — settings for controlled chaos
This is the frame everyone comes for, and it is the hardest to get right because it happens fast, in poor angles, over water that throws light everywhere. Here is the honest starting point — adjust for your light, but start here.
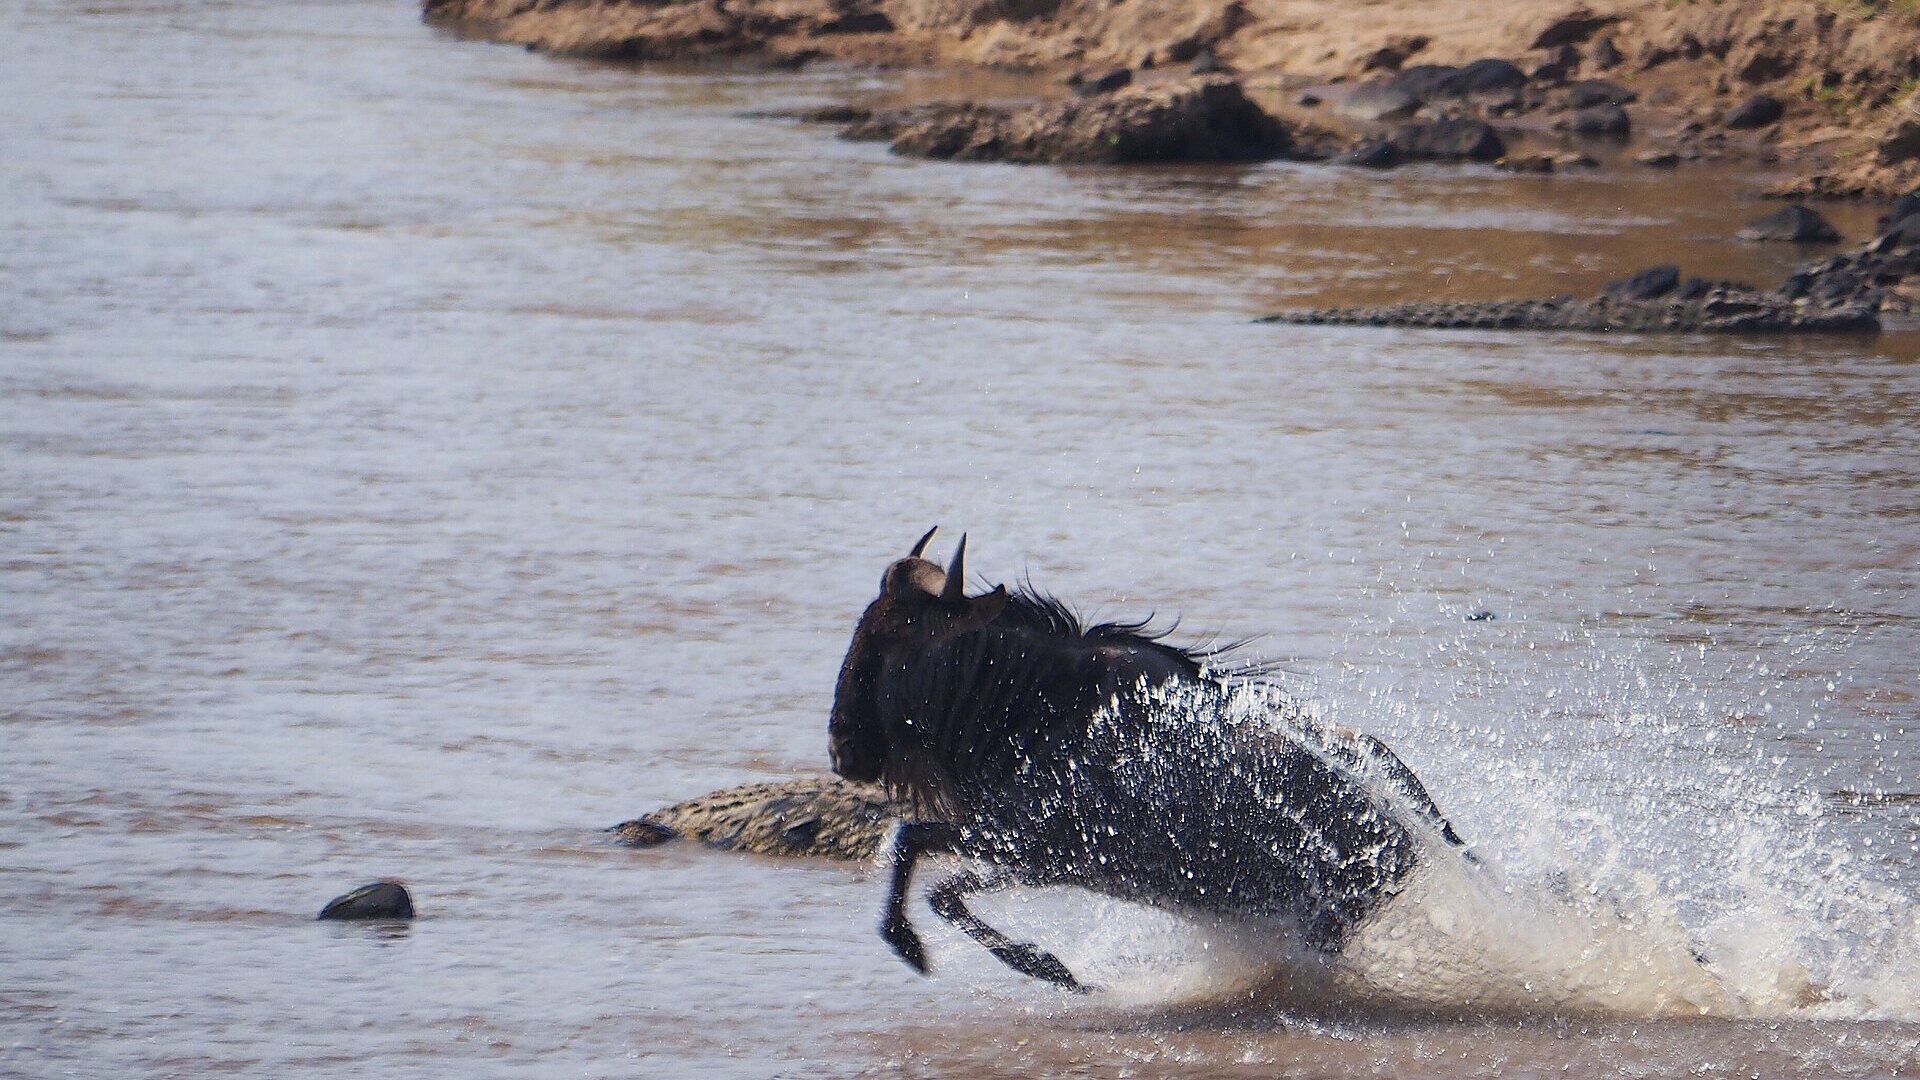
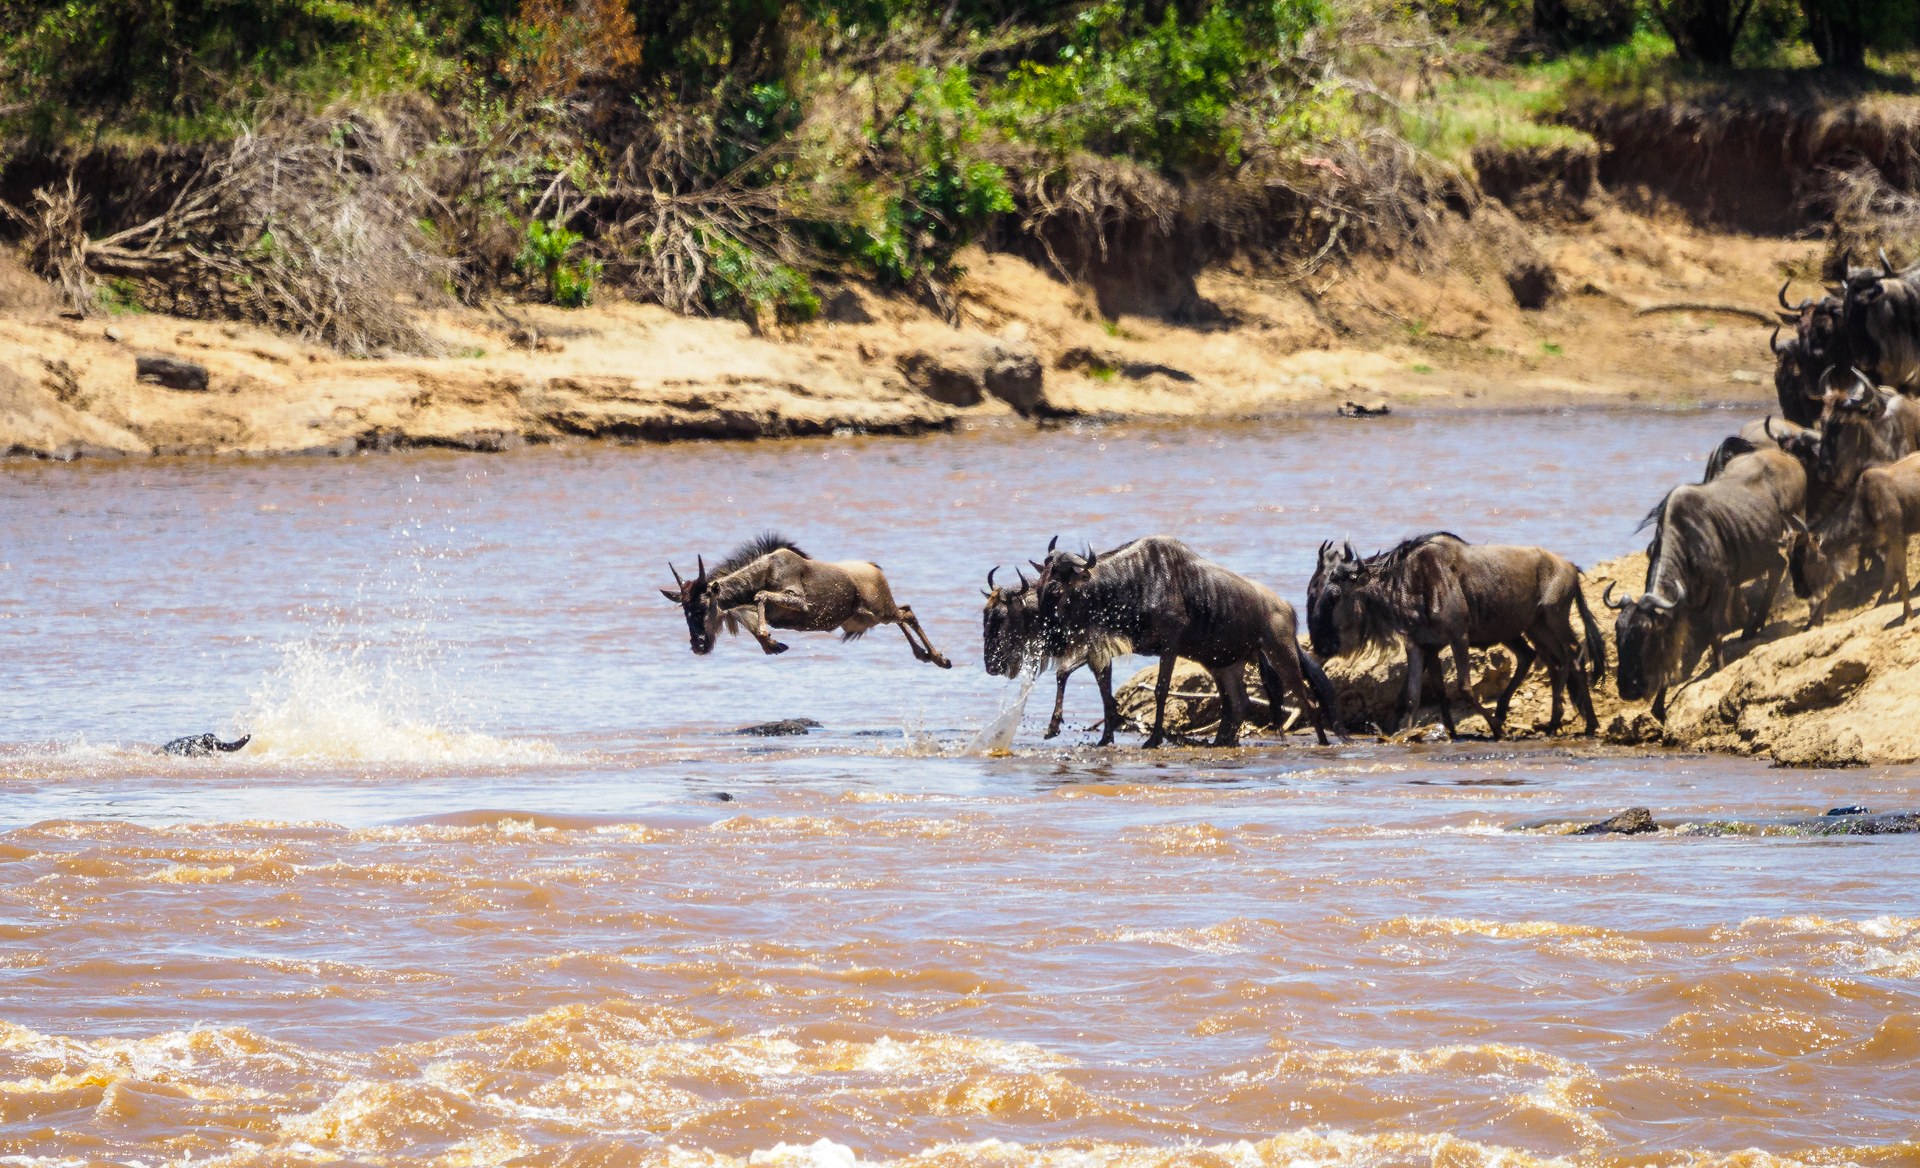
Shutter speed first, always. To freeze galloping legs and exploding spray you want 1/1600s as a floor, 1/2000s or faster when the light allows. If you have to choose, sacrifice a little image quality to a higher ISO rather than drop the shutter — a sharp, slightly noisy frame beats a clean blurred one every time. If you deliberately want the silky motion-blur of a running herd, that is a creative choice at 1/30s–1/60s with a panning technique, but nail the frozen version first.
Aperture for the story. For a single animal or a crocodile strike, open up to f/4–f/6.3 to isolate it against the busy water. For the whole herd pouring across, close down to f/8–f/11 so front and back ranks are all sharp. On the wide lens for the epic, f/9–f/11 keeps the landscape crisp.
ISO on auto, with a ceiling. Put the camera in shutter-priority or manual with auto-ISO, cap the ISO where your sensor still looks clean, and let the camera chase the light. Crossings often happen in harsh midday or dull overcast — you will not have time to meter each frame.
Focus and drive. Continuous autofocus (AF-C / AI-Servo), a wide or zone AF area, and high-speed continuous burst. Track the lead animal, hold the burst through the peak, and let the buffer do the sorting later. Back-button focus, if you use it, keeps focus locked while you fire.
The black-and-white secret. Mara crossing water is often the colour of milky tea, and it can flatten a frame. Many of the most powerful crossing images are converted to black and white in post, where the mud disappears and the texture, spray and drama take over. Shoot RAW so you keep that option.
Reading a crossing before it happens
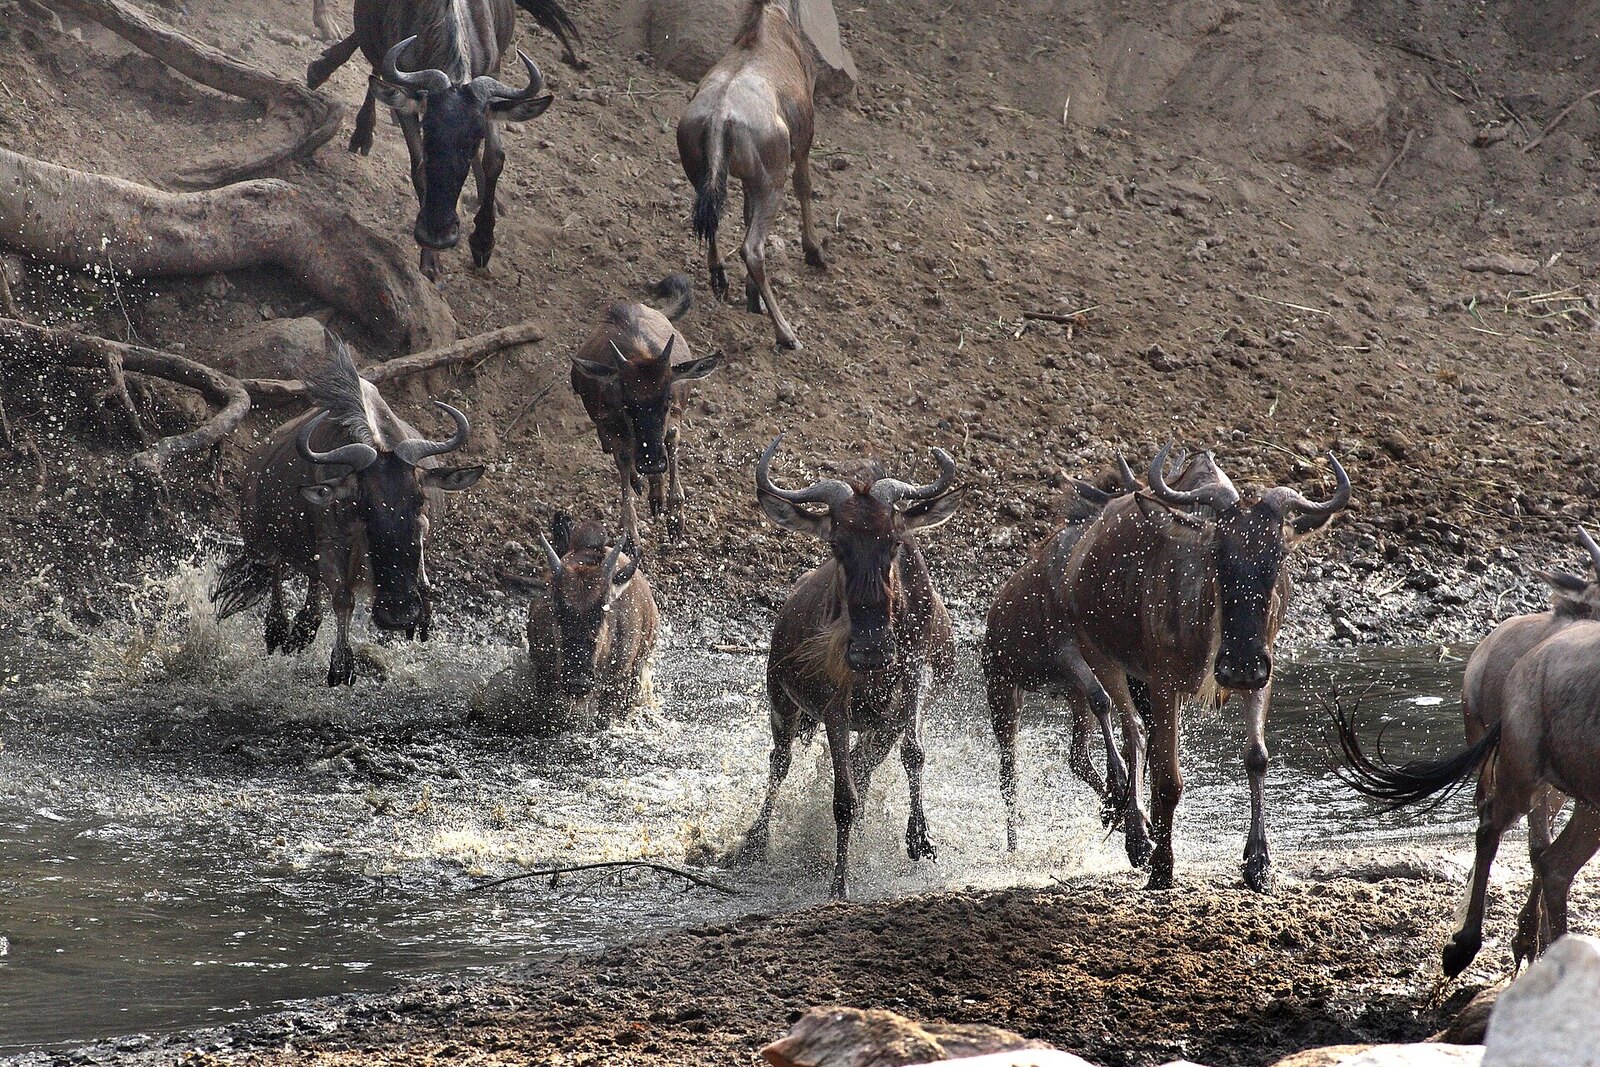
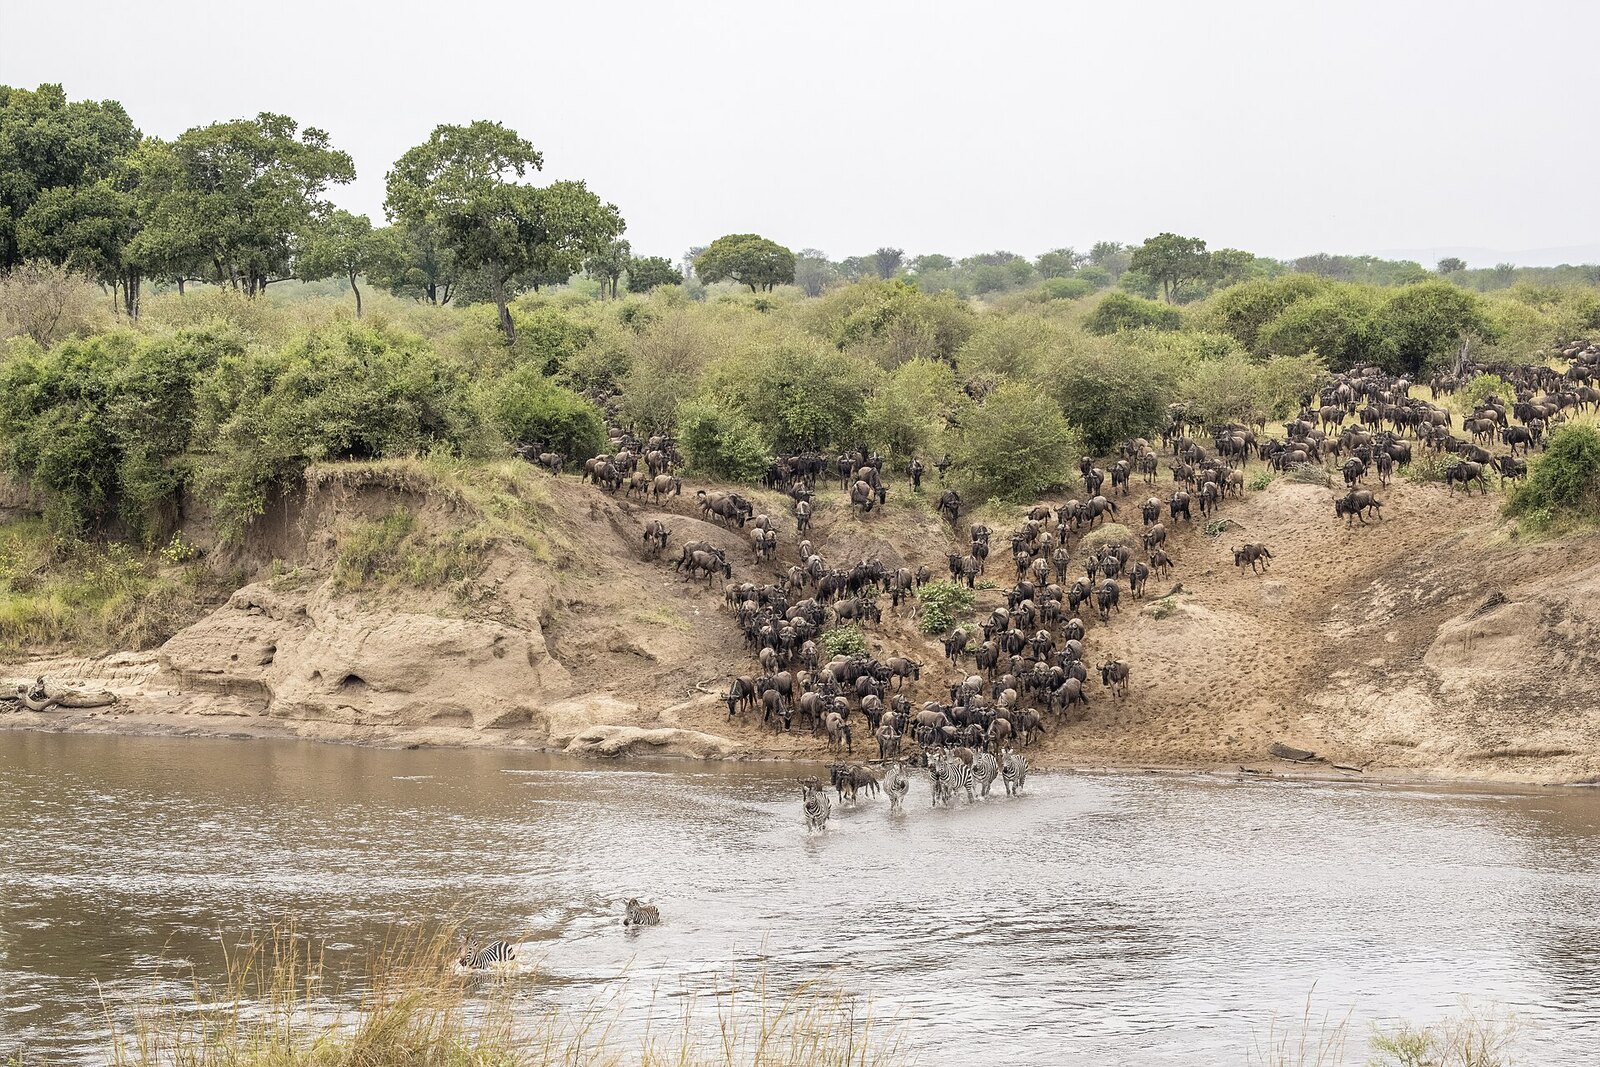
The single biggest difference between amateur and professional crossing images is not gear or settings — it is anticipation. The best photographers are reading the herd, not reacting to it. By the time you hear the splash and lift the camera, the peak is already passing.
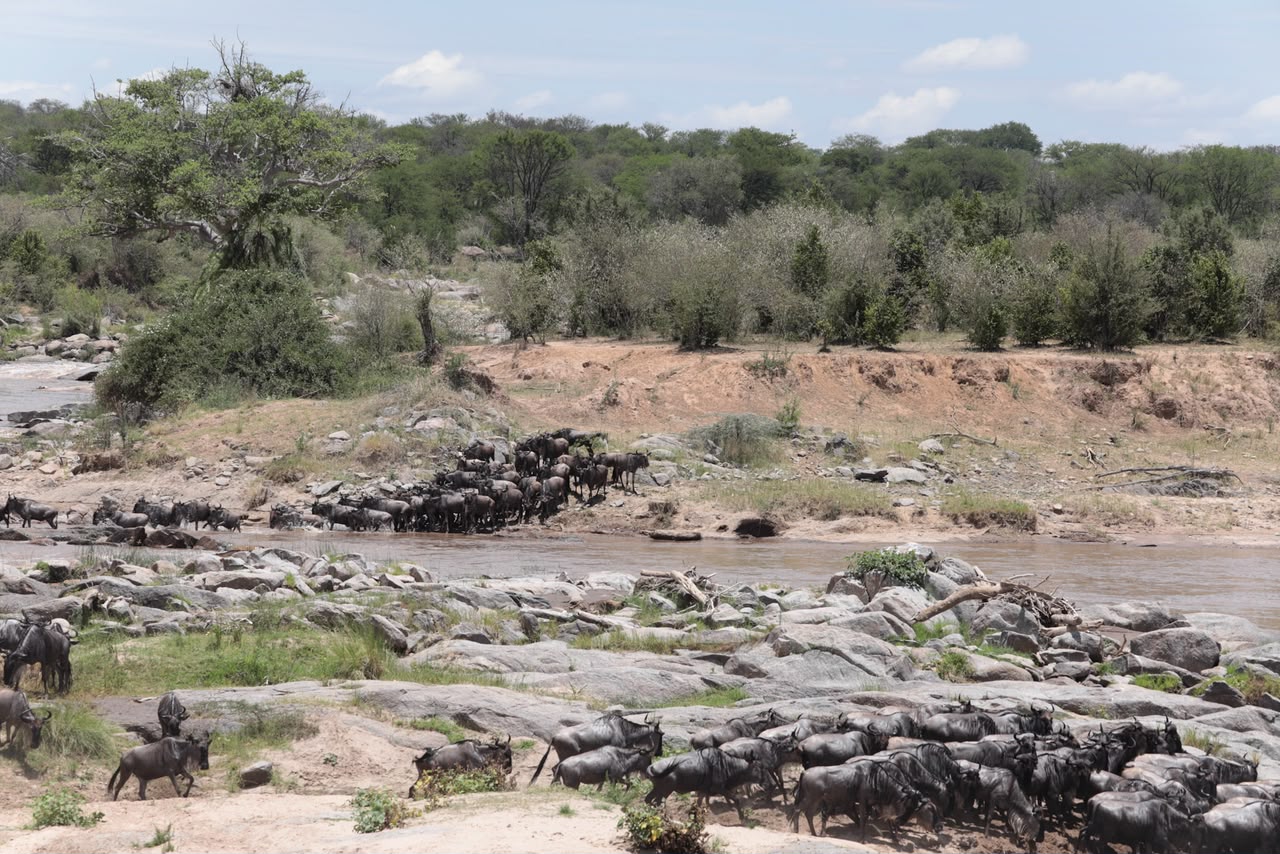
Learn the tells. Wildebeest gather at a habitual crossing point and hesitate, sometimes for hours — pacing the bank, edging forward and retreating, building pressure from the animals arriving behind. Watch for the front ranks bunching tighter, for a lone brave individual pushing to the very lip of the bank, for the low sound to rise. When one commits, the dam breaks in seconds. Your job in the long wait is to stay composed and ready: exposure set, focus pre-acquired on the likely entry point, framing decided, finger resting on the shutter.
This is what guides mean by "waiting well." A crossing rewards patience over chasing — the temptation is to race to every rumour of movement, but the photographers who plant themselves at a promising point, read the behaviour and outlast the hesitation are the ones who are already firing when it erupts. It is also why local knowledge is priceless: our guides have watched these same crossings for years and can read a herd's intent long before a first-timer sees anything happening at all.
Compose in the calm. Use the waiting to decide your shot: the tight, frozen individual on the long lens, or the wide epic with the herd inside the landscape and a dramatic sky. Look for entry and exit points that give structure, a natural bend that lets you shoot side-on, a lone tree or a dust column to break the mass. When the moment comes, you will not have time to think about composition — you will only have time to execute the one you already chose.
The calving season — newborns, predators and soft green light
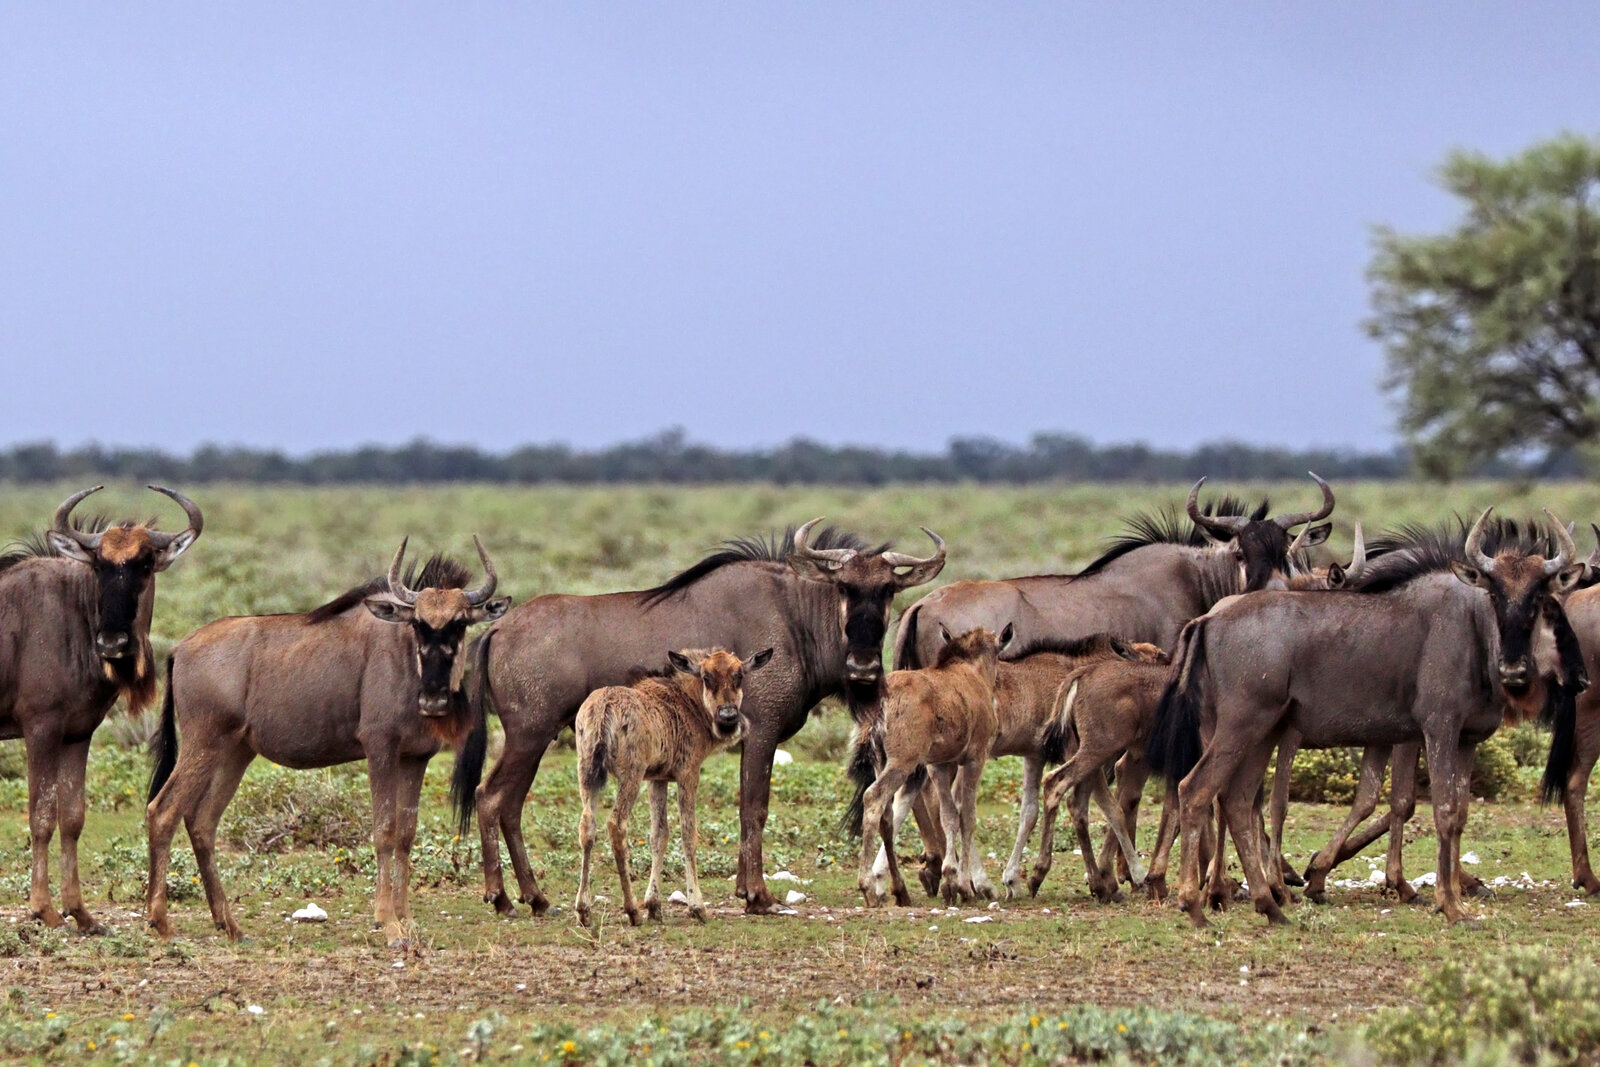
If the river crossings are the migration's action blockbuster, the calving season is its quiet masterpiece — and it is the season serious photographers guard as a secret. From late January through March, up to half a million wildebeest calves are born in a few short weeks on the southern Serengeti and Ndutu plains, and the photography could hardly be more different from the north.
The light is the first gift. This is the green season: the plains are lush, the skies carry dramatic clouds, and the harsh dust of the dry north is replaced by soft, saturated, forgiving light — especially in the golden hours. Backgrounds go clean and green, newborn calves take their first wobbling steps, and the tender behaviour of the herd is on show in a way the frantic crossings never allow.
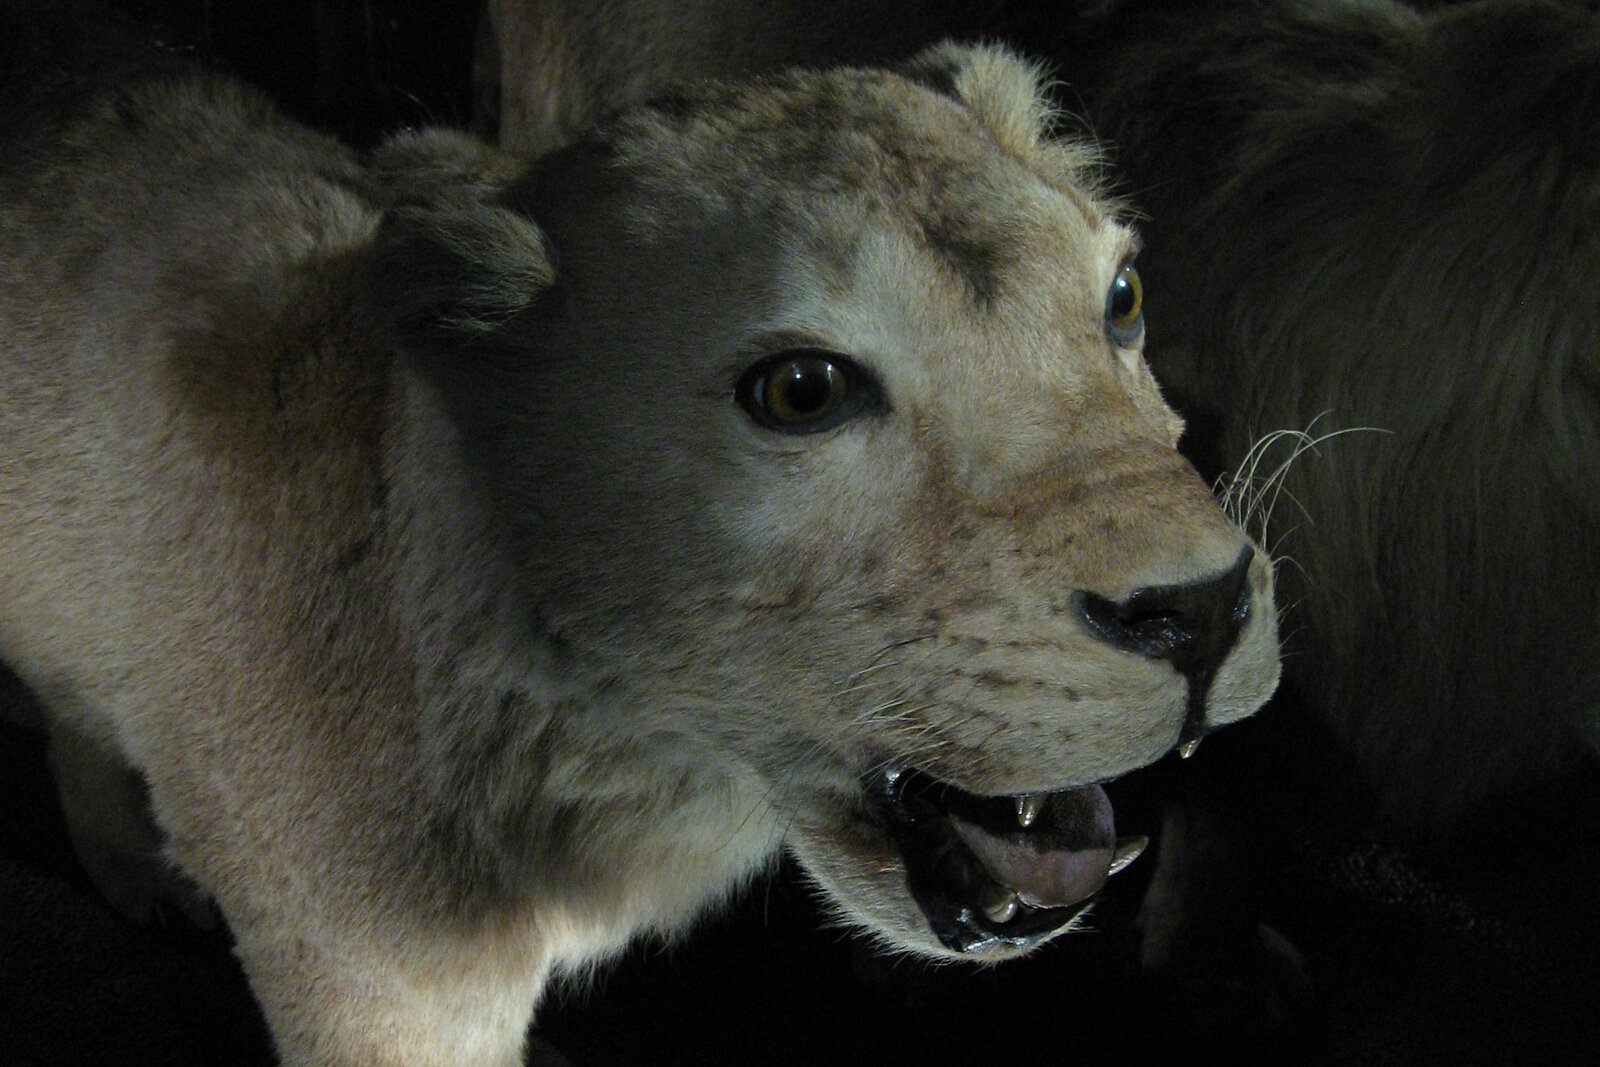
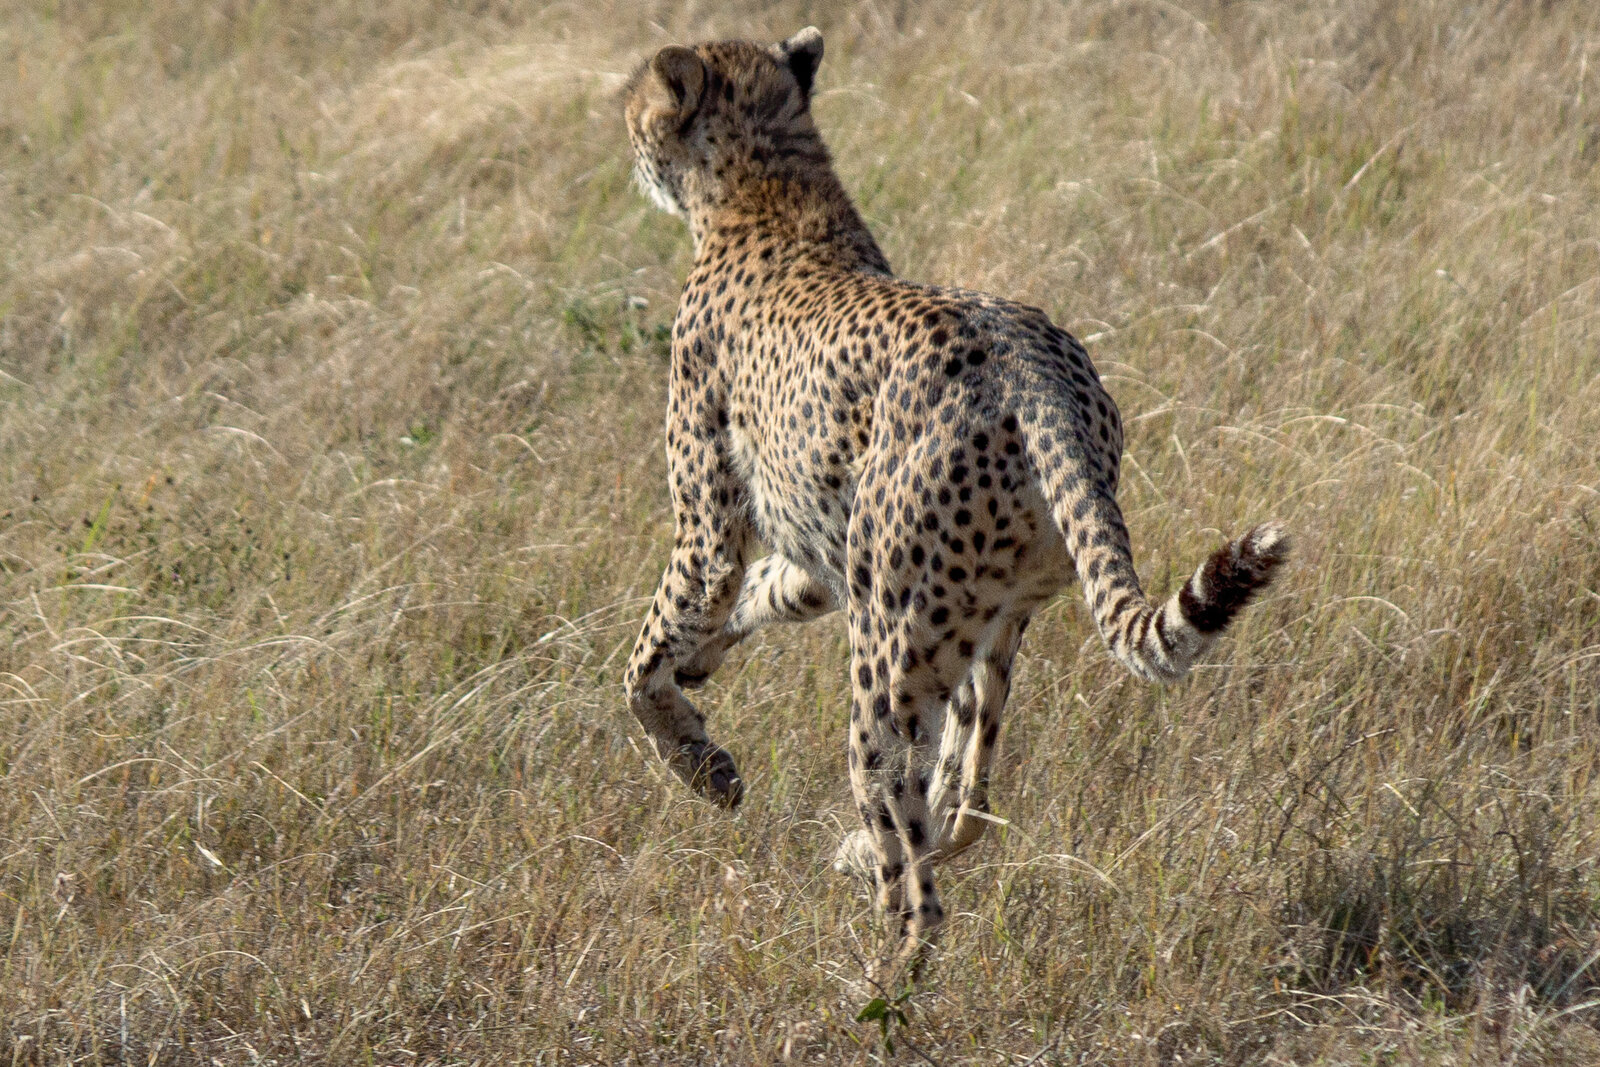
The second gift is the predator action. A nursery of half a million newborns draws every big cat in the ecosystem, and the Ndutu plains in calving season offer the most concentrated cheetah and lion action of the year, often in beautiful light and open country perfect for tracking a hunt on the long lens. For predator-and-prey drama, many photographers rate the calving season above the crossings entirely — and it comes with a fraction of the vehicles. To understand the drama in depth, read our Serengeti calving season guide, and for the darker mechanics of predation, our honest guide to the dangers and predators of the migration.
Vehicle positioning and the 90-degree rule
On the migration, your most important piece of equipment is not in your camera bag — it is the vehicle, and the guide who drives it. Where you are parked when a crossing erupts decides your entire shot, and you cannot reposition once the chaos begins.
Aim for a 90-degree angle. Parking directly opposite a crossing point gives you a wall of head-on animals with no depth. The stronger picture usually comes from a natural bend in the river, positioned side-on to the line of the crossing, so you catch the length of the column, the leap, the profile and the spray with real depth. A good guide knows these bends and gets you there early.
Get low, get eye-level. The "tourist in a car" look comes from shooting down at the animals. Wherever the vehicle allows it — a low window, a beanbag on the sill, an open side — drop your lens toward the animals' eye level. Even a small drop in angle transforms the intimacy of the frame. Shooting from further back with a longer lens also compresses the scene and lifts you closer to eye level than parking on top of it.
Engine off, patience on. Wildebeest are genuinely skittish at the water, and vehicle noise and crowding can change whether and where they cross. Switching the engine off is better for the photograph and better for the animals — and it is why the crowded honeypot crossings, with forty vehicles jostling, are so often worse than a quiet numbered crossing with just yours.
All of this is dramatically easier in a private, photographer-friendly vehicle. The freedom to hold a sighting for hours, to chase the bend rather than the crowd, to keep the roof clear for a clean line and to say "we wait" — that single upgrade does more for your photography than any lens. It is exactly how we build our photographic trips.
Light, dust and the balloon aerial
Beyond the crossing and the calving, the migration offers three more photographic opportunities that reward planning — and a settings cheat-sheet to tie it all together.
Work the golden hours hard. The plains at dawn and in the last hour of light are transformed — long shadows, warm rim-light on the herds, dust turned to gold. Shoot the vast scenes wide and low with the sun behind or beside you, then turn into the light for backlit dust and silhouetted horns. Midday is for the crossings and the action; the edges of the day are for the beautiful, quieter frames that make a portfolio.
Turn the dust into an asset. The dust that threatens your sensor is also one of the migration's most cinematic elements. Backlit, a herd on the move kicks up a golden haze that separates animals from background and adds atmosphere no clean frame can match. Expose for the highlights, let the shadows fall, and let the dust do the storytelling.
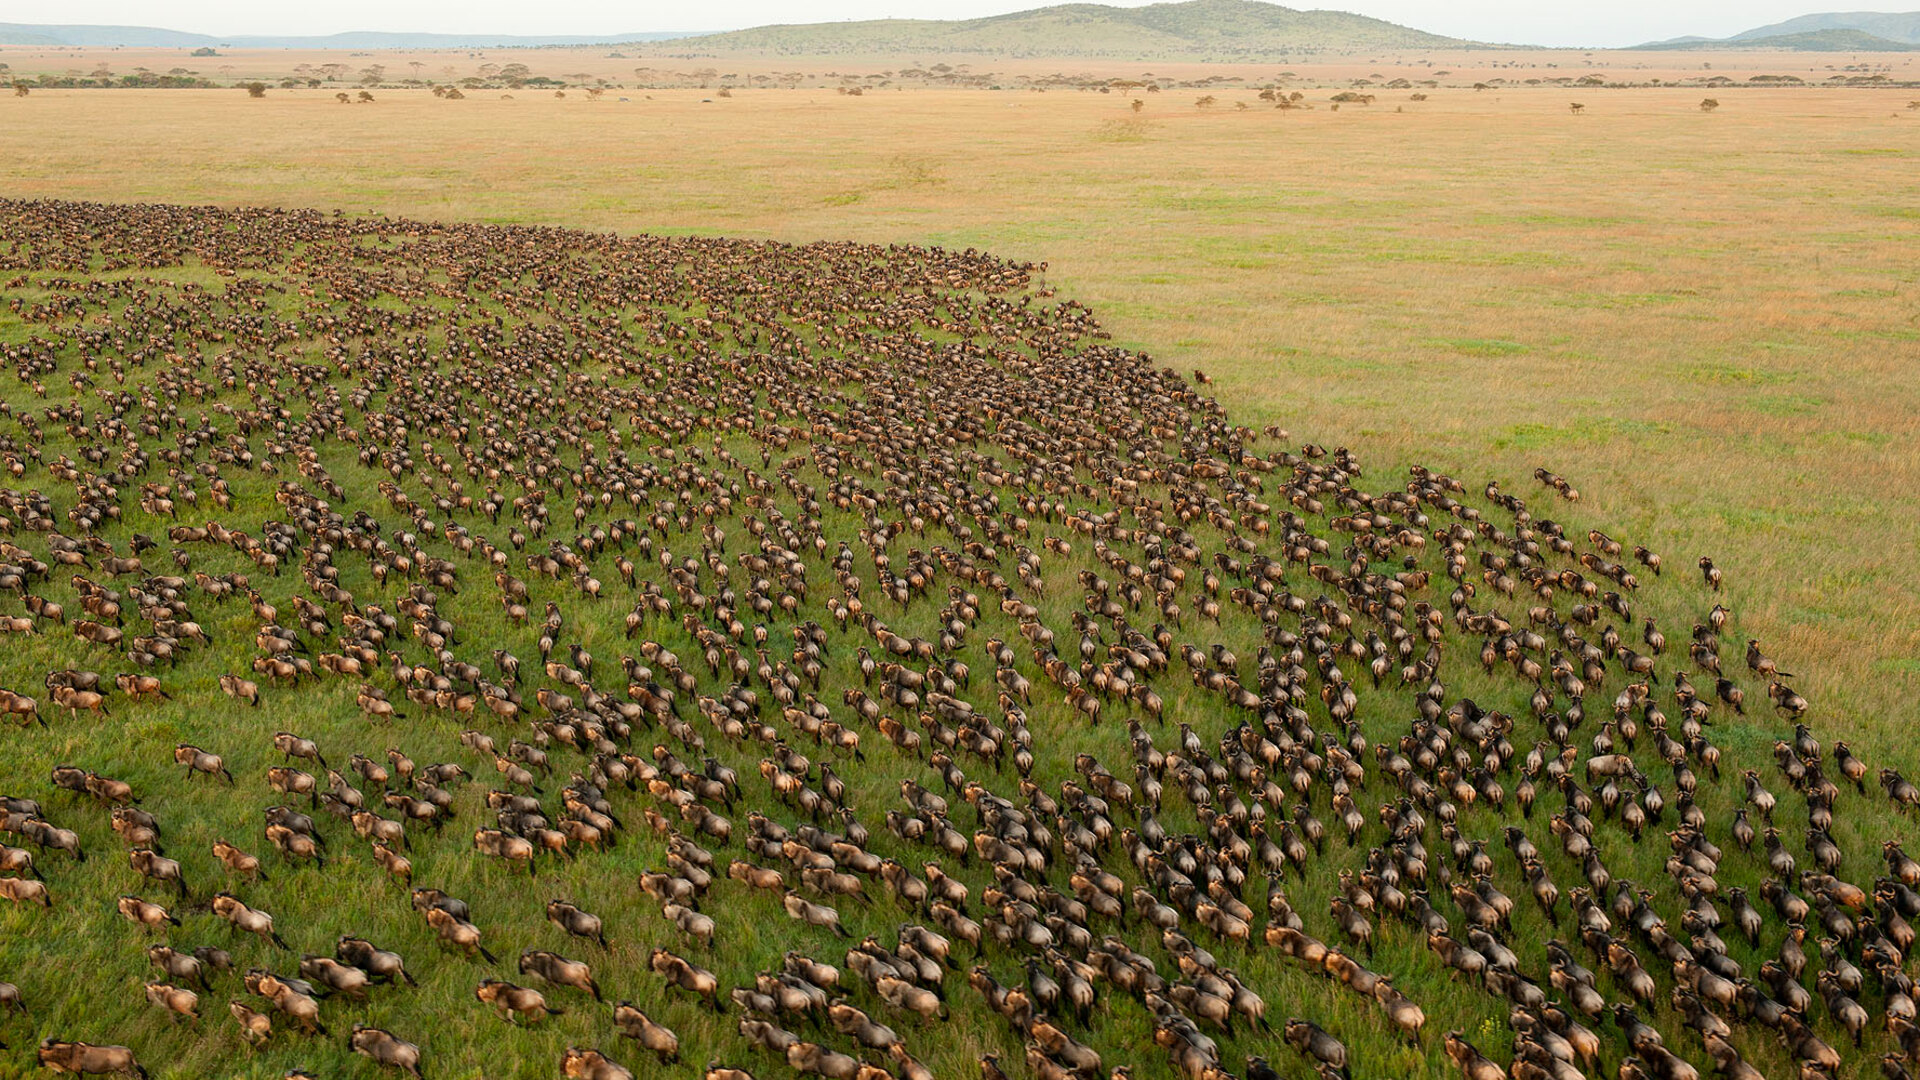
The hot-air-balloon aerial. A dawn balloon flight over the Serengeti or Mara is the one way to capture the true, map-like scale of the herds — rivers of animals threading across the plains, seen from above in soft first light. Shoot with a mid-range zoom, keep your shutter high to counter the basket's drift, and shoot down at an angle rather than straight down for the most graphic compositions. It is a splurge, but for the scale shot there is nothing else like it.
| The moment | Shutter | Aperture | Lens & note |
|---|---|---|---|
| River crossing action | 1/1600–1/2500s | f/5.6–f/8 | Long tele, AF-C, burst; freeze the spray |
| Calving predator hunt | 1/1250–1/2000s | f/4–f/6.3 | Long tele, isolate subject, soft green light |
| Herd landscape / scale | 1/500–1/1000s | f/8–f/11 | Wide zoom, keep front-to-back sharp |
| Balloon aerial | 1/1000s+ | f/5.6–f/8 | Mid zoom, high shutter for drift; shoot at an angle |
| Golden-hour / backlit dust | 1/800–1/1600s | f/5.6–f/9 | Expose for highlights; sun low, dust as atmosphere |
The honest calendar. Where you point the lens depends entirely on when you go. Broadly: Jan–Mar — southern Serengeti and Ndutu for calving, newborns and peak big-cat action in soft green light; late May–Jun — the Western Corridor and Grumeti crossings, crowd-free; Jul–Oct — northern Serengeti (Kogatende) and the Masai Mara for the famous Mara River crossings; Nov–Dec — the return south, herds gathering on the eastern and southern plains. For the full timing picture, see our guide to the best time to see the Great Migration in Tanzania, and for the quieter crossings the crowds miss, our atlas of the hidden wildebeest migration crossings. Still deciding whether a migration trip is even the right safari for you? Our honest migration safari vs regular safari guide lays out the trade-offs.
Shoot the migration with us — the private, photographer's way
The travellers who come home with genuine portfolios rather than lucky snaps almost always share the same set-up: a private vehicle and a guide who reads the herds, a camp positioned right on the action, several nights rather than one hopeful afternoon, and the flexibility to follow the animals instead of an itinerary. That is exactly how we build our photographic trips.
We are an owner-run South African team on the ground. We choose the camps, guides and vehicles ourselves, we watch the herds in real time through our live Great Migration Tracker, we carry beanbags and know the river bends, and we fold every flight and detail into one clear, honest price. Tell us when you can travel and what you most want to photograph — the crossings, the calving, the big cats, the scale — and we will put you at the right river, in the right light, with the time and the freedom to make the frame of your life. To follow the whole loop first, read our guide to the Great Migration from the Serengeti to the Masai Mara.