Key Takeaways
- Deadvlei and Dune 45 at sunrise offer world-class composition: dead trees, red dunes, blue skies
- Golden hour (first and last hour of daylight) delivers the most dramatic dune shadows and warm tones
- The Milky Way is visible year-round; best astrophotography in NamibRand Dark Sky Reserve (May–October)
- Bring a sturdy tripod, wide-angle lens (16-35mm), telephoto for wildlife (70-200mm or 100-400mm)
- Camera settings for dunes: f/11-16, ISO 100-200, bracket exposures; for Milky Way: f/2.8 or wider, ISO 3200-6400, 15-25s
- Stay at photography-friendly lodges: Sossusvlei Desert Lodge, Wolwedans, Kwessi Dunes, Little Kulala
Why Namibia Is a Photographer's Paradise
Namibia sits at the intersection of extreme geography and exceptional light. The Namib Desert — the oldest desert on Earth — produces landscapes of surreal minimalism: towering dunes, white clay pans, blackened trees, and horizons that stretch unbroken to the curve of the planet. The air is dry and stable, so sharpness and clarity are extraordinary. The skies are enormous and often cloudless, delivering pure blue backdrops for landscape work and some of the darkest night skies on the planet for astrophotography.
Add to that a concentration of desert-adapted wildlife — oryx, springbok, ostriches, jackals — and iconic lodges designed with photographers in mind, and you have a destination that rewards both technical skill and creative vision. Deadvlei's dead camelthorn trees have become one of the most photographed scenes in Africa, and for good reason: the composition writes itself. But Namibia offers far more than one iconic shot. From the ripples of wind-sculpted sand to the arc of the Milky Way over a quiver tree, the desert delivers endless subject matter and light that ranges from subtle to overwhelming.
For landscape photographers, Namibia is a masterclass in minimalism, shape, and shadow. For wildlife photographers, it offers unique subjects in stark, graphic settings. For astrophotographers, it is one of the last places on Earth where you can shoot the night sky without light pollution. And for anyone who loves the challenge of working in harsh light and extreme conditions, Namibia is addictive.
The Essential Locations for Namibia Photography
Deadvlei: The Icon
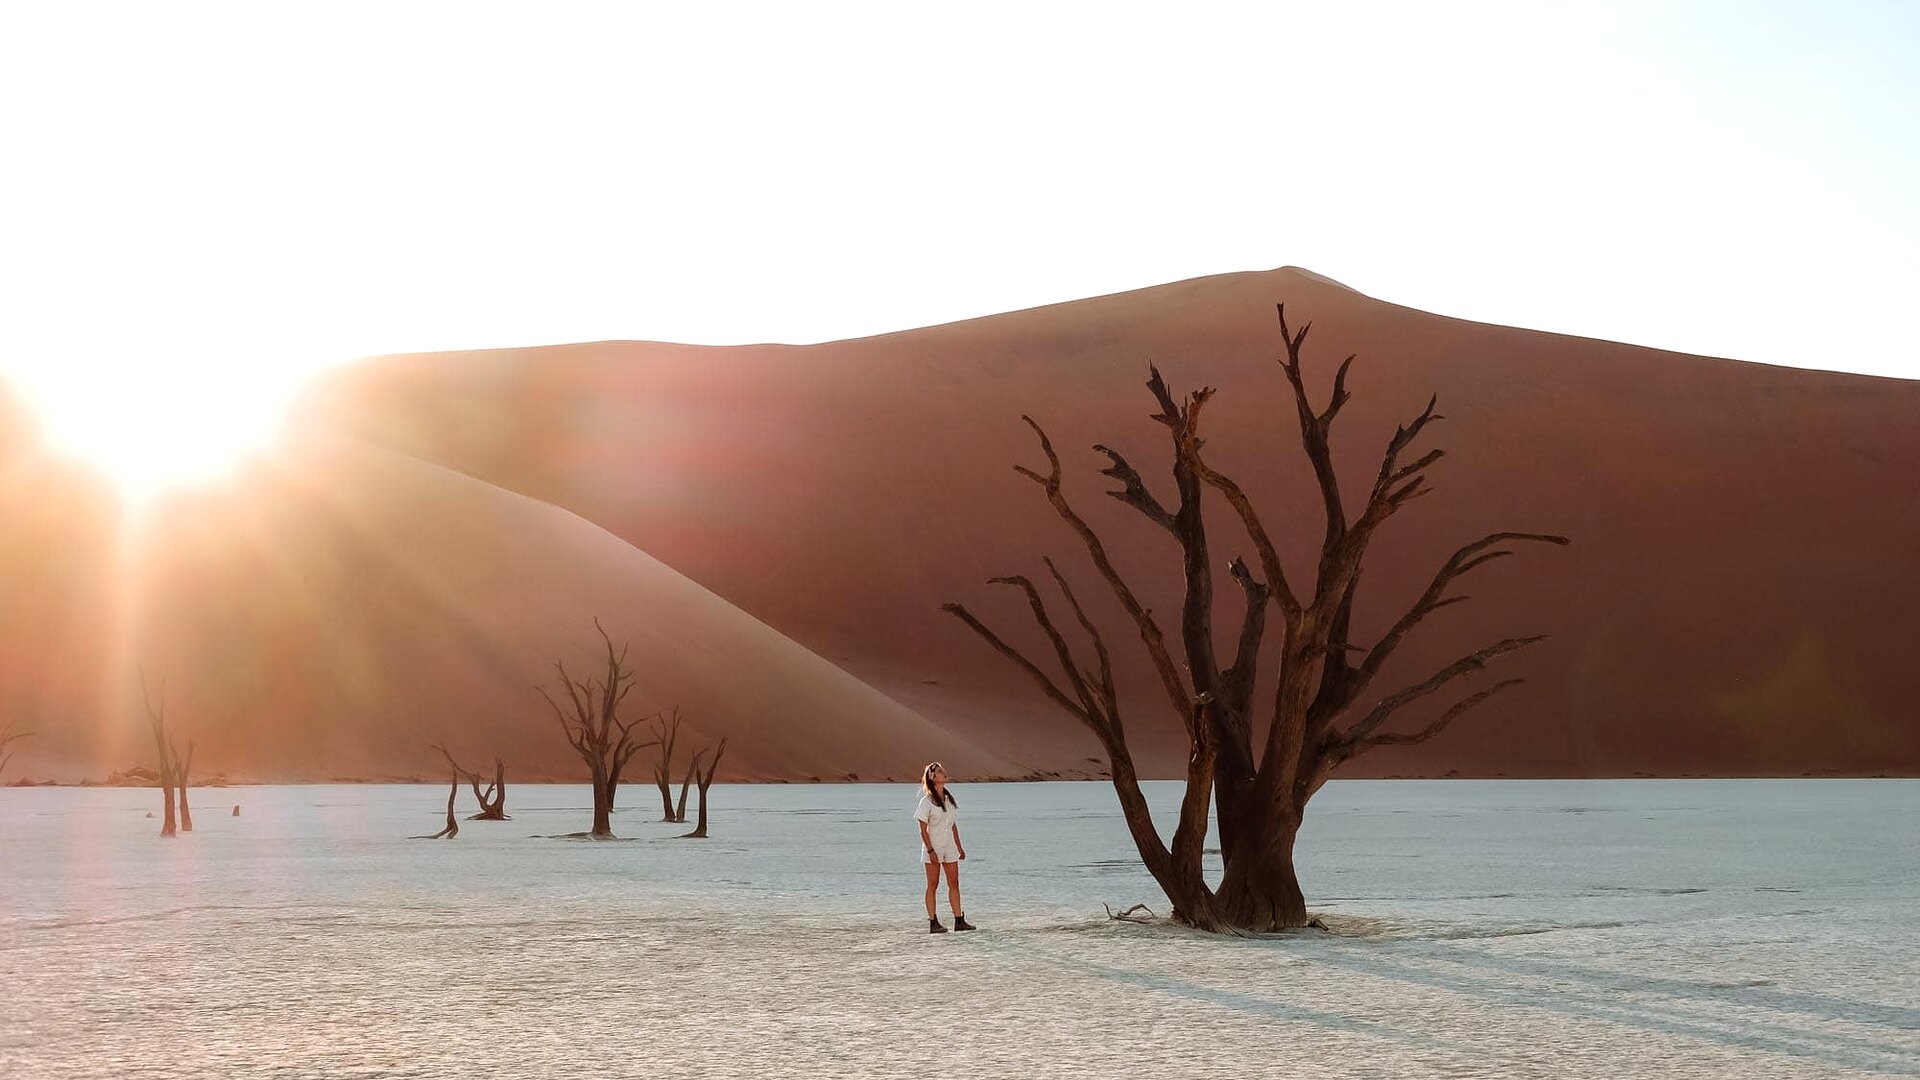
Deadvlei is the single most photographed location in Namibia, and it earns that status. This white clay pan, surrounded by 300-metre dunes and dotted with the skeletons of 900-year-old camel thorn trees, offers a composition so stark and dramatic that it feels almost unreal. The contrast is everything: orange dunes, white pan, black trees, blue sky. The trees died centuries ago when the Tsauchab River changed course, and they remain standing because the air is too dry for them to decay. They are monuments to time, and photographing them is a study in light, shadow, and negative space.
The best time to shoot Deadvlei is sunrise, and that means a pre-dawn start. Most lodges offer a 4:30am wake-up call, a quick breakfast, and a drive to the Sesriem gate, which opens at sunrise. From the car park you walk or shuttle to the base of Big Daddy dune, then cross the final kilometre of sand to the pan. By the time you arrive, the sun is just touching the horizon, and the light is soft, golden, and constantly changing. You have perhaps 90 minutes of usable light before the sun climbs too high and the contrast becomes harsh.
Camera settings for Deadvlei: Use a wide-angle lens (16-35mm) to capture the full sweep of dunes and trees. Shoot at f/11 to f/16 for maximum depth of field. Start at ISO 100-200 to keep grain minimal. Bracket your exposures (±1-2 stops) to ensure you capture detail in both the bright sand and the deep shadows of the trees. A polarizing filter helps deepen the blue sky, and a graduated ND filter can balance the exposure between sky and foreground. Shoot RAW for maximum post-processing flexibility.
Dune 45 & Big Daddy: Shape & Shadow
Dune 45 (named for being 45 kilometres from Sesriem) is the most accessible of Sossusvlei's big dunes, and it draws crowds at sunrise. But crowds or not, it delivers: the dune's sinuous ridge, the play of light and shadow on its face, and the small figures of climbers silhouetted against the sky make for graphic, powerful images. If you want something more intimate, Big Daddy — the tallest dune in the area at 325 metres — offers similar light and fewer people, though the climb is steeper and longer.
The photographic goal here is shadow and form. As the sun rises, one side of the dune glows warm orange while the other remains in deep, cool shadow. The ridge line becomes a knife-edge of light. Wide-angle shots emphasize the sweep and scale; telephoto compression (70-200mm) isolates sections of the dune and creates abstract patterns. Shoot from the base looking up, or climb to the ridge and shoot along its length. Either way, timing is everything: you want the sun low enough to create long shadows but high enough to illuminate the face of the dune.
The Milky Way & Night Skies
Namibia's night skies are among the darkest on Earth, and the NamibRand Nature Reserve holds Gold Tier Dark Sky Reserve status — the first in Africa. On a moonless night, the Milky Way is so bright it casts shadows. The galactic core (brightest in May to August) stretches from horizon to horizon, and the Large and Small Magellanic Clouds glow like torn pieces of the galaxy. For astrophotographers, this is bucket-list territory.
Camera settings for Milky Way photography: You need a fast wide-angle lens (f/2.8 or wider) and a sturdy tripod. Set your ISO to 3200-6400 (higher for darker skies or slower lenses). Use a shutter speed of 15-25 seconds — any longer and you'll see star trails due to Earth's rotation. The "500 rule" (divide 500 by your focal length to get max shutter speed) is a useful guide. Shoot in manual focus, set to infinity (or just shy of it, as many lenses are soft at the infinity mark). Use a remote shutter release or the camera's timer to avoid shake. Compose with a foreground element — a quiver tree, a lone oryx, the silhouette of your lodge — to anchor the image.
The best months for Milky Way photography in Namibia are April to October, when skies are driest and clearest. New moon periods offer the darkest skies. Many lodges (Sossusvlei Desert Lodge, Wolwedans, Kwessi Dunes) have astronomy programs, telescopes, and guides who can help you plan your shots and understand what you're seeing. Some offer "star beds" — platforms where you sleep under the open sky — which double as astrophotography platforms.
Camera Gear & Settings for Desert Photography
Photographing the Namib Desert demands gear that can handle extreme conditions: fine sand, intense heat during the day, and near-freezing temperatures at night. Here's what to bring:
- Camera body: Full-frame is ideal for low-light astrophotography, but APS-C sensors work well for landscapes. Bring at least one backup body.
- Wide-angle lens (16-35mm or 14-24mm): Essential for dunes, Deadvlei, and night skies. Faster apertures (f/2.8) are critical for astrophotography.
- Telephoto zoom (70-200mm or 100-400mm): For wildlife, abstract dune patterns, and compressing distant subjects.
- Tripod: A must for long exposures, bracketing, and night photography. Choose one that's sturdy but light enough to carry over dunes.
- Filters: Polarizing filter (deepens blue skies, cuts glare), graduated ND (balances bright skies), and solid ND for long-exposure water or cloud effects (rare in the desert, but useful at the coast).
- Accessories: Remote shutter release, spare batteries (cold nights drain them fast), large-capacity memory cards, lens cloths, and a blower brush to deal with sand.
Protecting gear from sand: The Namib's fine, talcum-like sand gets into everything. Change lenses inside your vehicle or lodge, not in the open. Use a UV filter on each lens to protect the front element. Keep your camera bag closed when not in use. At the end of each day, use a blower brush (never compressed air, which can drive sand deeper) to clean your gear. Sand in the sensor or lens mechanism can end a shoot, so vigilance is key.
Timing: Golden Hour, Blue Hour & the Arc of Light
Light in the Namib is everything, and understanding its daily rhythm is essential for strong photography. The desert's golden hour — the first and last hour of sunlight — is when the dunes glow warmest and shadows are longest. Sunrise and sunset are the prime shooting times, and most serious photographers plan their entire day around these windows.
At Deadvlei, sunrise is the consensus favourite. The sun rises behind Big Daddy dune, backlighting it and casting long shadows across the pan. The dead trees stand out in stark silhouette, and as the sun climbs, their shadows stretch and shift. By 8:30am the light is already harsh, and by mid-morning the pan becomes a furnace of reflected glare. Sunset at Deadvlei is also beautiful, but logistics are trickier (the park closes at sunset, and you must be out by then), so most photographers prioritize sunrise.
Blue hour — the period just before sunrise and just after sunset — offers softer, cooler light and is ideal for dune photography when you want subtlety over drama. The sky glows deep blue, the dunes take on pastel hues, and the contrast is gentle. It's a quieter, more contemplative light, and it works beautifully for minimalist compositions.
Midday is brutal. The sun is directly overhead, shadows disappear, and the contrast between bright sand and deep shade exceeds most cameras' dynamic range. This is the time to retreat to your lodge, review your morning's work, and rest before the afternoon's shoot. Some photographers use midday light for abstract close-ups of sand ripples or the textures of weathered wood, but for grand landscapes, midday is a write-off.
Wildlife Photography in Namibia
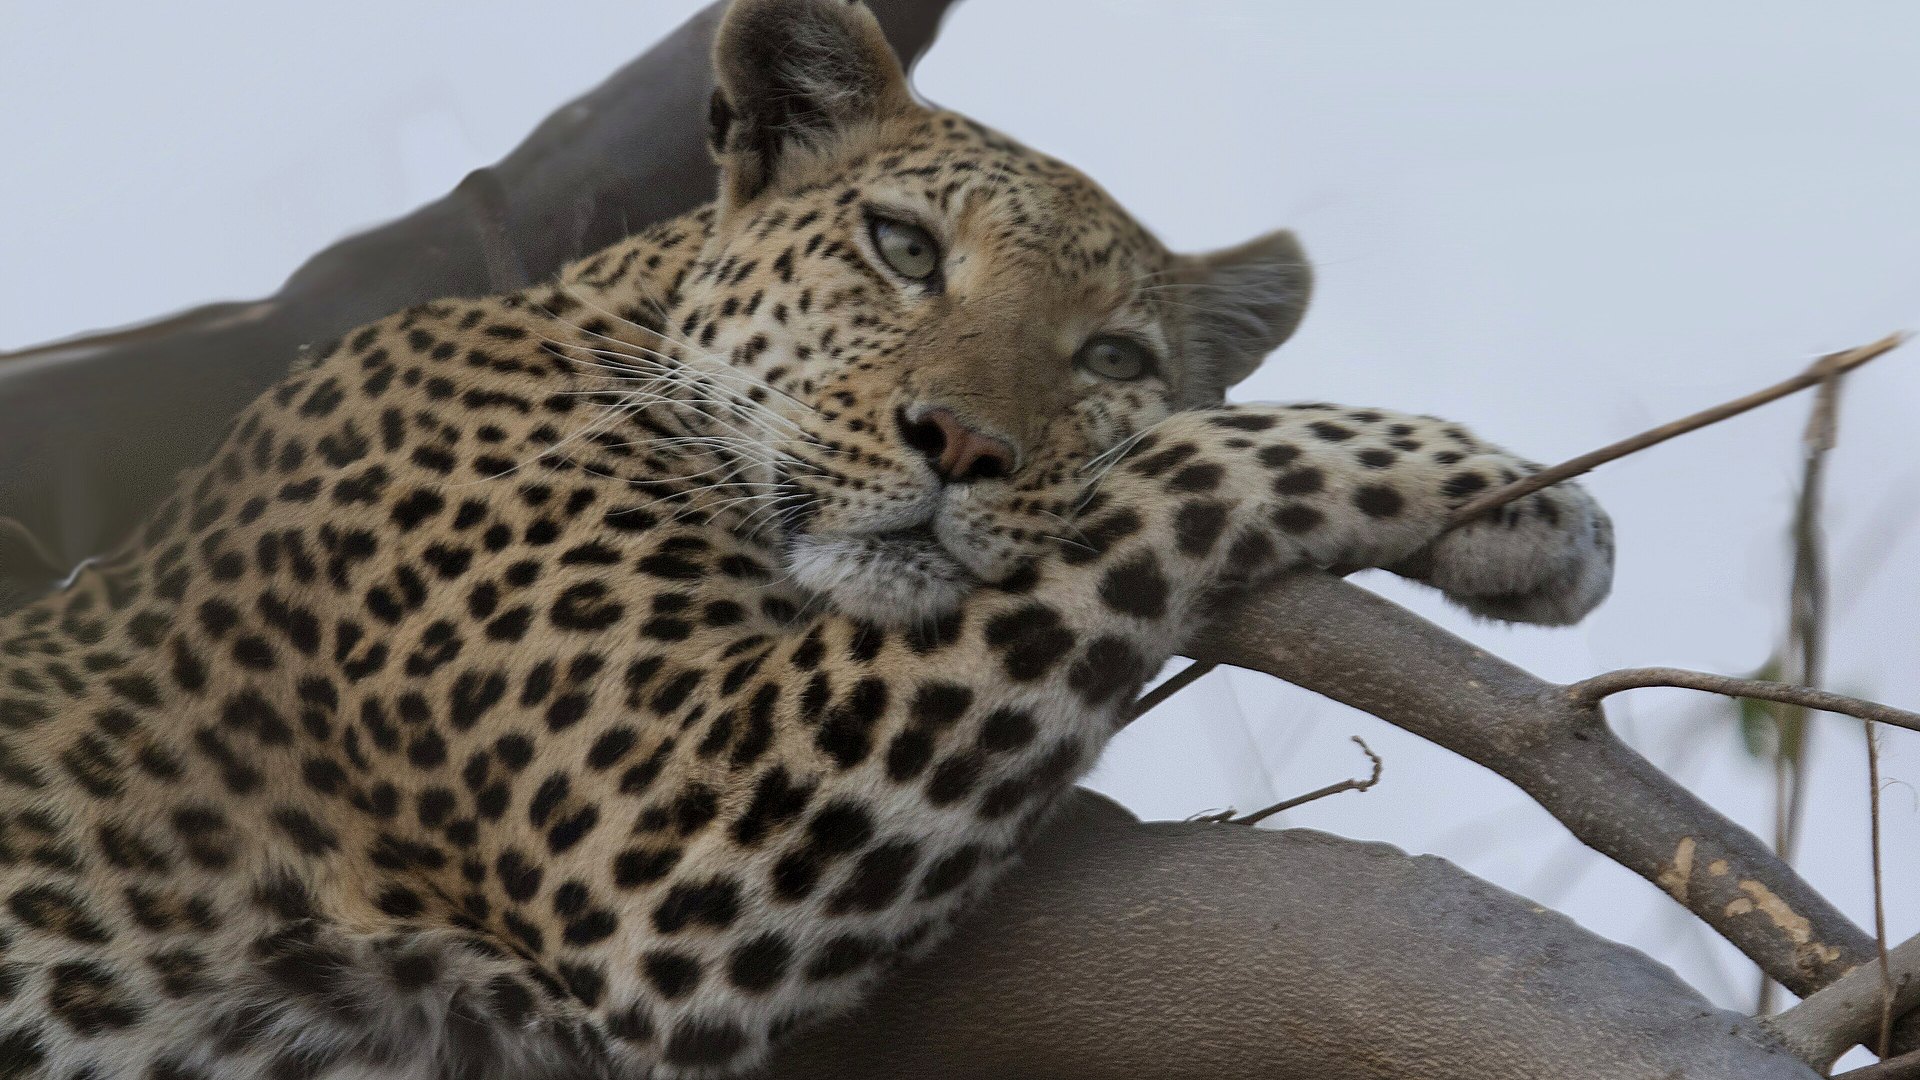
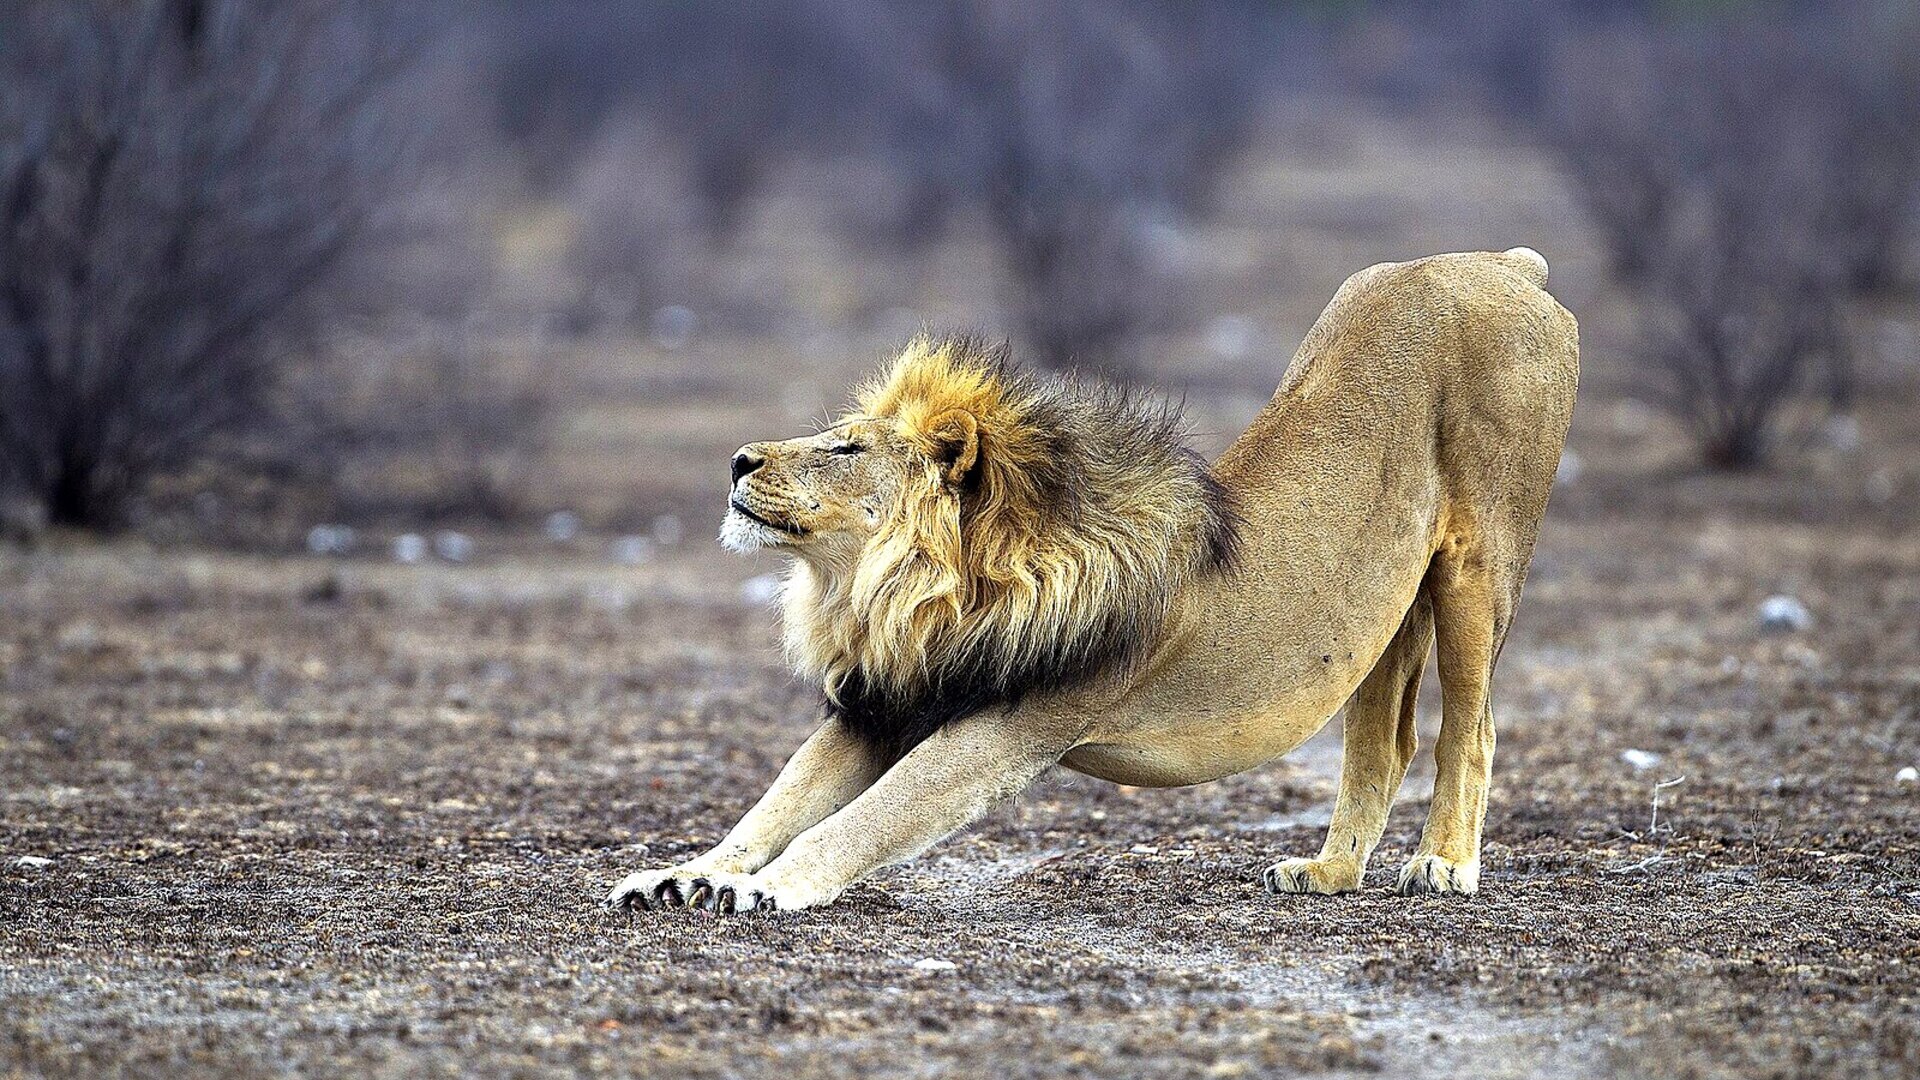
Namibia is not the Serengeti — wildlife densities are lower, and predators are harder to find. But what Namibia offers is graphic, uncluttered wildlife photography: a lone oryx on a dune ridge, a springbok against an empty horizon, a jackal trotting across white sand. The backgrounds are clean, the light is dramatic, and the subjects are often isolated in a way that makes composition straightforward.
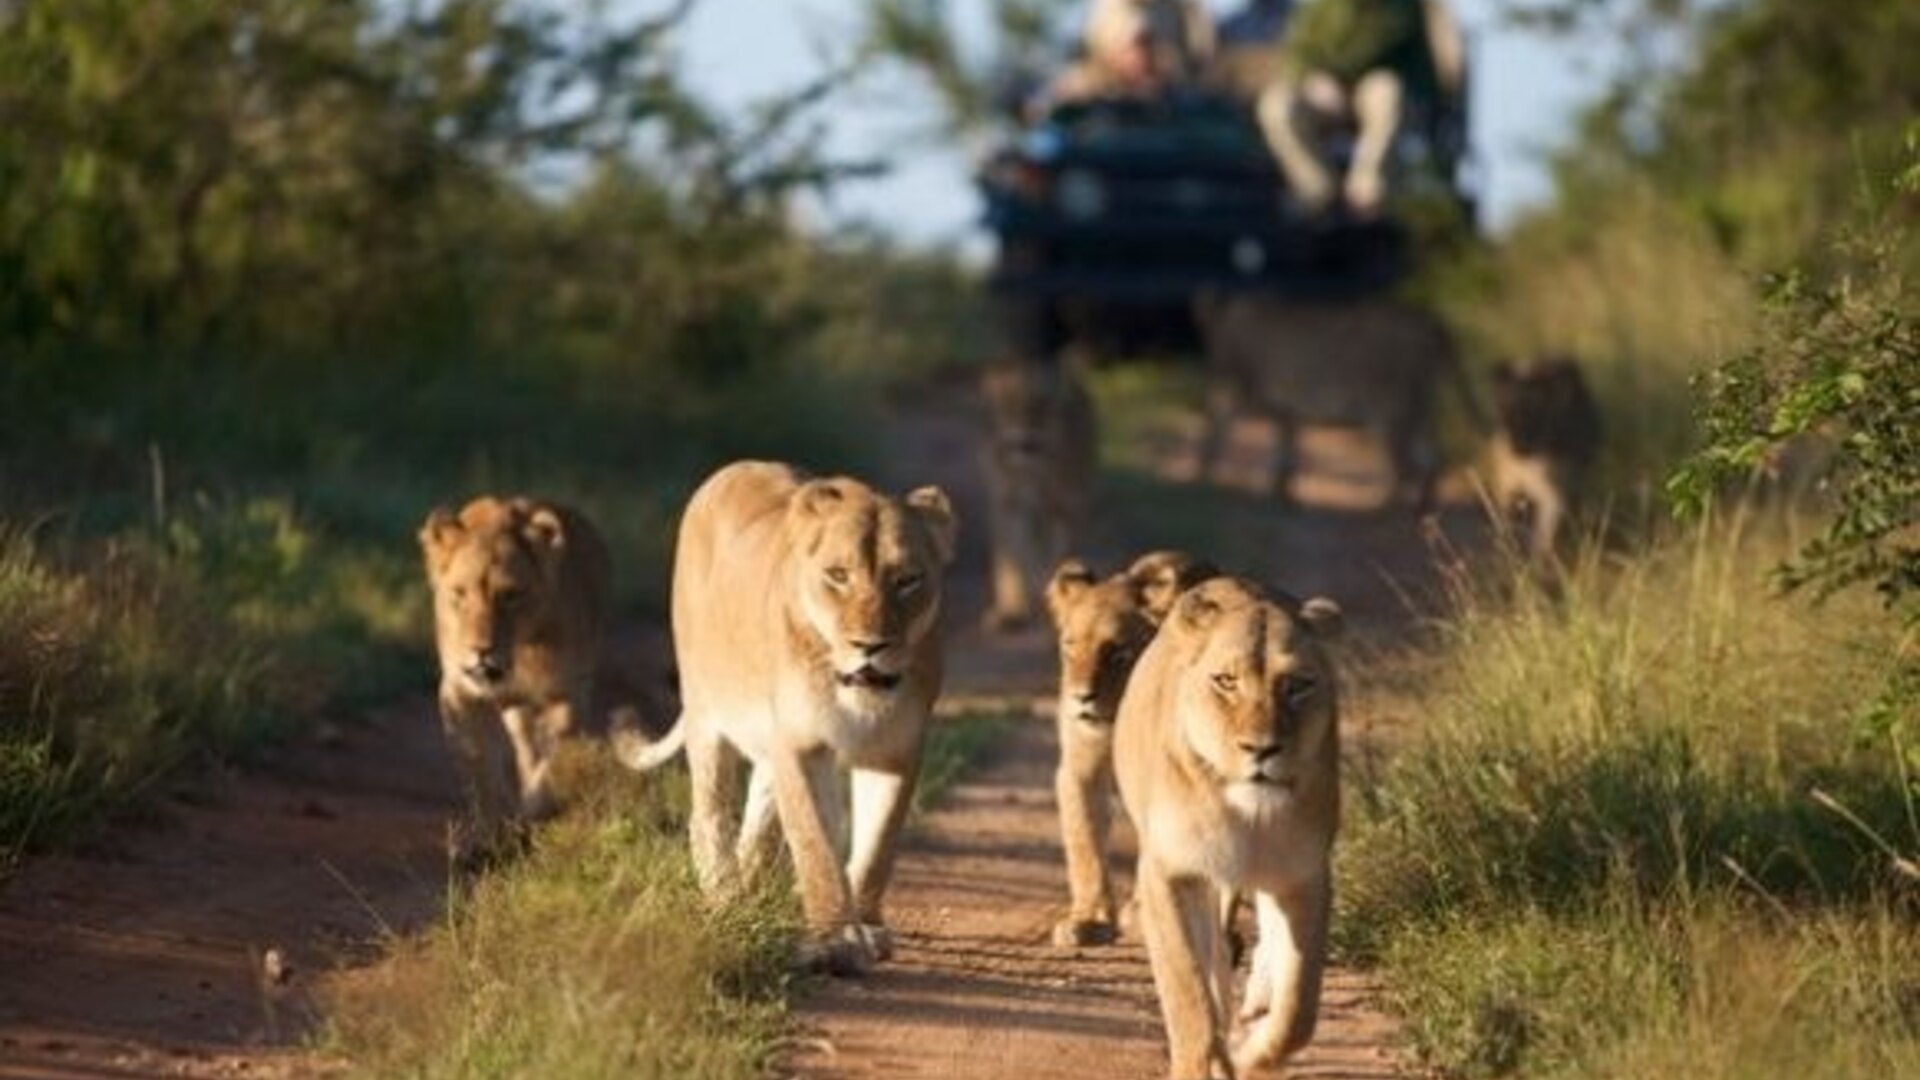
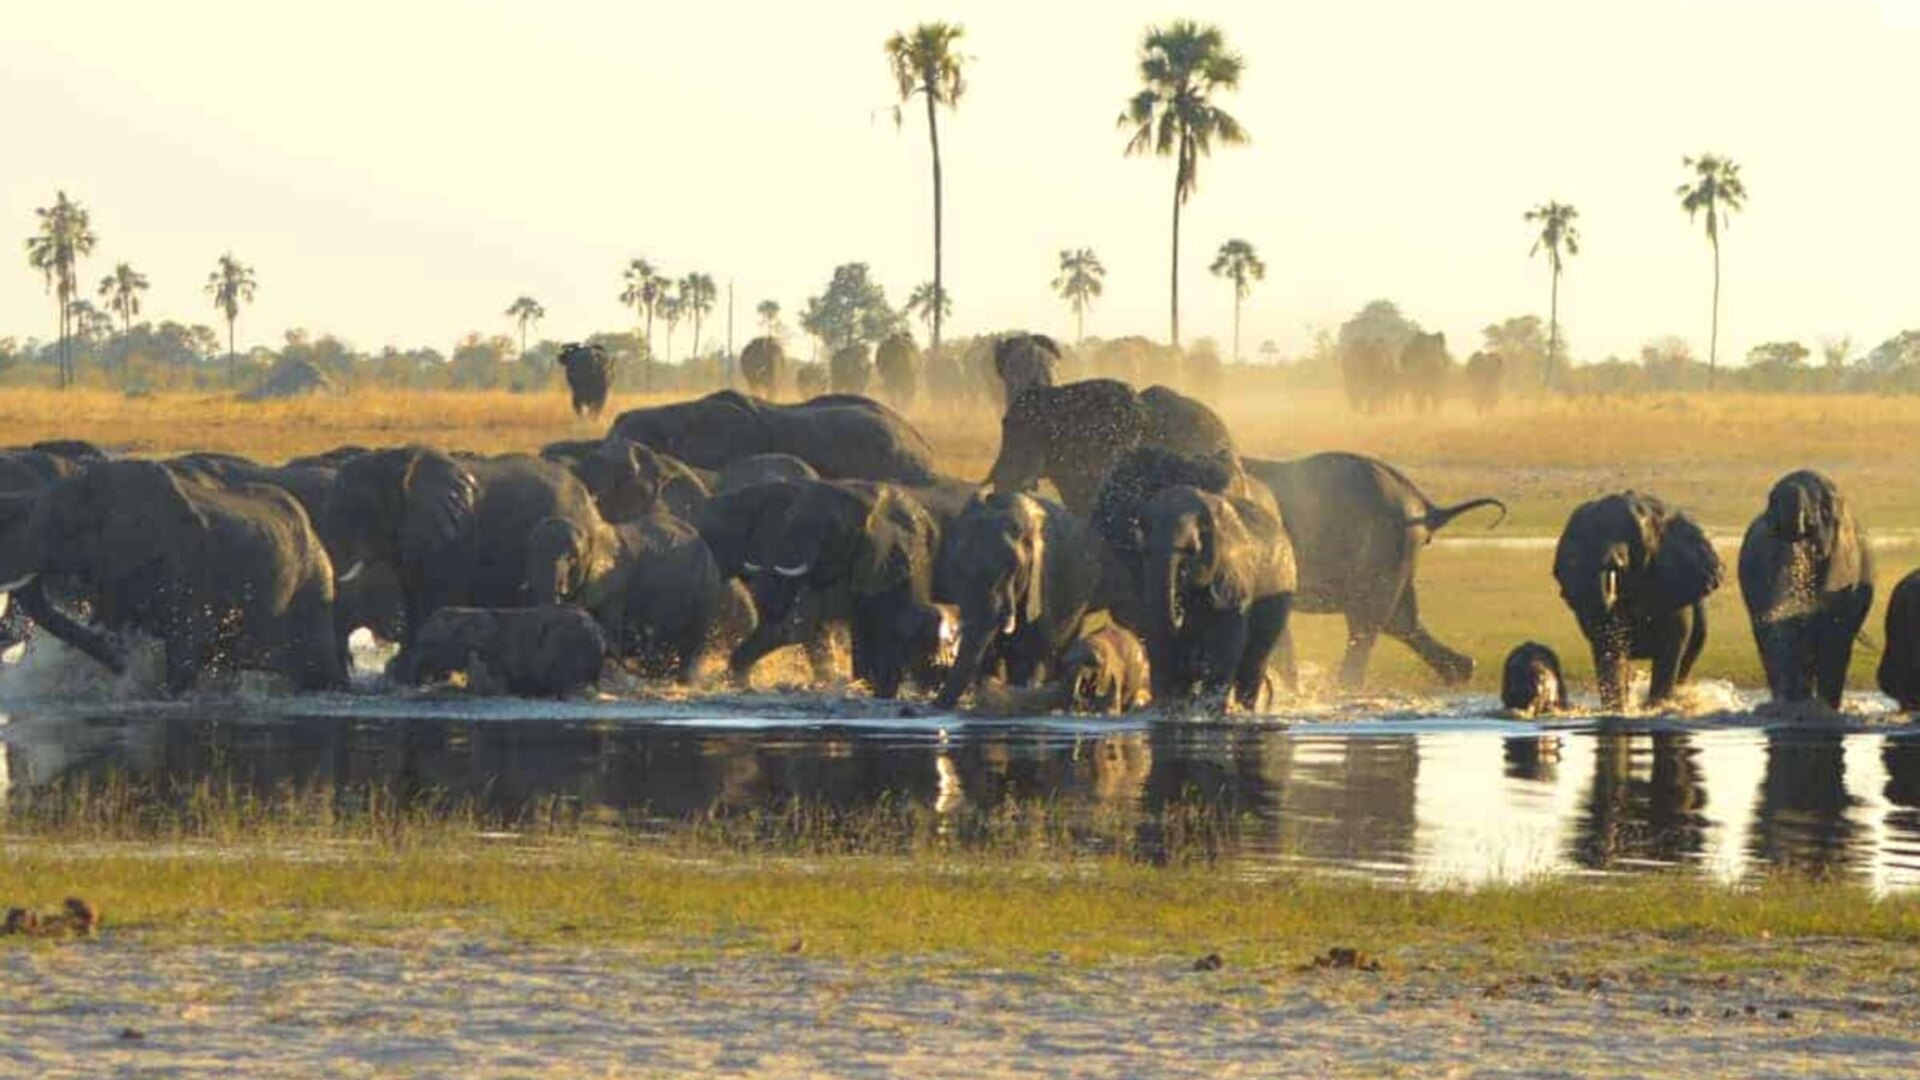
Desert-adapted species — oryx, springbok, ostrich, black-backed jackal, bat-eared fox — are the stars. In Damaraland you can photograph desert elephants in dry riverbeds, and in Etosha you get classic African game: lions, rhinos, giraffes, zebras. For wildlife, a telephoto lens (100-400mm or 70-200mm with a 1.4x teleconverter) is essential. Shoot at f/5.6 to f/8 for adequate depth of field, use shutter speeds of at least 1/1000s to freeze motion, and be prepared to push your ISO (800-1600) in the early morning or late afternoon when light is lower.
Etosha's waterholes are the most reliable for wildlife photography. You sit at a waterhole at sunset and wait. The light is warm, the animals come to drink, and you have time to compose and shoot. Some lodges (Ongava, Onguma) have underground hides at waterholes, allowing eye-level shots of elephants, rhinos and lions drinking — a perspective you can't get from a vehicle.
The Best Lodges for Photographers
Not all lodges are created equal when it comes to photography. The best lodges for photographers offer early starts (4:30-5:00am for sunrise at Deadvlei), private guides who understand photographic timing, and architecture that doesn't interfere with night-sky shooting. Here are the standouts:
- Sossusvlei Desert Lodge: Glass-walled suites, a full-time astronomer, rooftop stargazing platforms, and pre-dawn Deadvlei excursions.
- Wolwedans: Several camps in the NamibRand Reserve, all with minimal light pollution and astronomy programs. Wolwedans Dunes Lodge and Private Camp are the most photography-focused.
- Little Kulala: Rooftop "sleep-out" platforms for astrophotography, private access to Sossusvlei, and guides trained in photographic timing.
- Kwessi Dunes: Skylights above the bed for stargazing, open-plan suites for night-sky access, and flexible timing for sunrise shoots.
These lodges understand that photographers need time, not rush. They offer packed breakfasts so you can stay at Deadvlei through the best light, and they'll adjust vehicle departure times to match golden hour. If you're on a dedicated photo safari, choosing the right lodge is as important as choosing the right lens.
Pro Tips for Namibia Photography
- Scout the evening before: If possible, visit Deadvlei or your chosen dune the afternoon before your sunrise shoot. Note where the sun will rise, plan your composition, and mark your spot.
- Bracket everything: The contrast between bright sand and deep shadow can exceed your camera's dynamic range. Bracket your exposures (at least ±1 stop, ideally ±2) and blend them in post if needed.
- Shoot in RAW: JPEG compression destroys the subtle tonal gradations in sand and sky. RAW files give you far more latitude in post-processing.
- Use a lens hood: Flare is a constant risk in the desert's harsh light. A lens hood helps, and shooting with the sun to your side or behind you (rather than in front) minimizes flare.
- Pack light for dune climbs: Climbing Big Daddy or Dune 45 with a full camera bag is exhausting. Bring one body, one or two lenses, a tripod, and water. Leave the rest in the vehicle.
- Respect the light: If the light isn't good, don't shoot. Wait. The temptation is to fire away because you're there, but Namibia rewards patience. The best shots happen in the first and last hour of light. The rest is filler.